Missing Shingles? 7 Proven DIY Steps Roofers Recommend
f you’ve discovered missing shingles on your roof, you’re not alone — and time is of the essence. Left unaddressed, even a single missing shingle can lead to water damage, insulation issues, and expensive repairs. Whether caused by wind, hail, or general wear, missing shingles compromise your roof’s ability to protect your home.
The good news? You don’t need to panic and you don’t always need a full roof replacement. As a licensed roofing company with over 15 years of experience, we’ve helped hundreds of homeowners quickly fix small issues before they turn into major ones.
In this guide, we’ll walk you through:
- Spotting the signs of missing shingles.
- The tools and materials you’ll need.
- 6 easy-to-follow steps to replace missing shingles.
- Why prevention and maintenance are crucial.
Key Takeaways:
- Missing shingles means urgent fix: Water damage can start in less than 24 hours.
- DIY-friendly: Small repairs can be done safely with basic tools.
- Call a pro if… the roof is steep, you spot rot, or multiple shingles are missing.
- Prevention is cheaper than repair: Annual inspections save money long-term.
Why Shingles Are an Important Layer of Your Roofing System
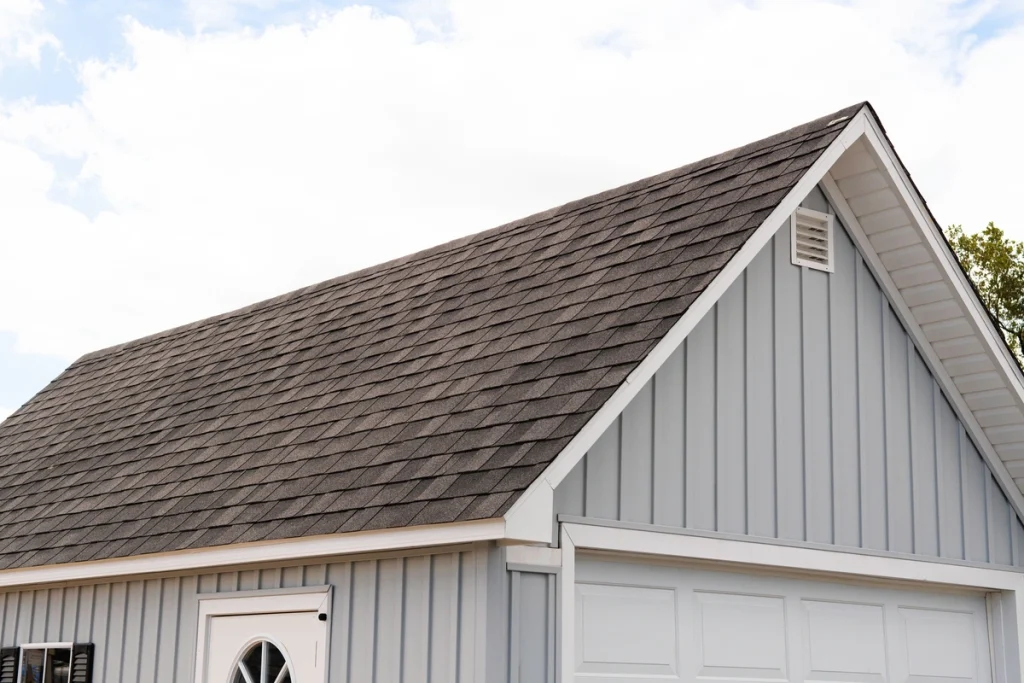
Shingles play a pivotal role in safeguarding your roof by providing a durable and weather-resistant barrier. As the topmost layer of the roofing system, shingles shield your home from the harsh effects of rain, wind, snow, and sunlight. They prevent water infiltration that can lead to rot, mold, and structural damage.
Additionally, shingles contribute to the overall energy efficiency of your home by enhancing insulation, helping to regulate temperature and potentially lower heating and cooling costs. Well-maintained shingles not only extend the lifespan of your roof but also preserve the aesthetic appeal and value of your property. Thus, maintaining a complete and intact shingle layer is vital to ensure the long-term protection and functionality of your roofing system.
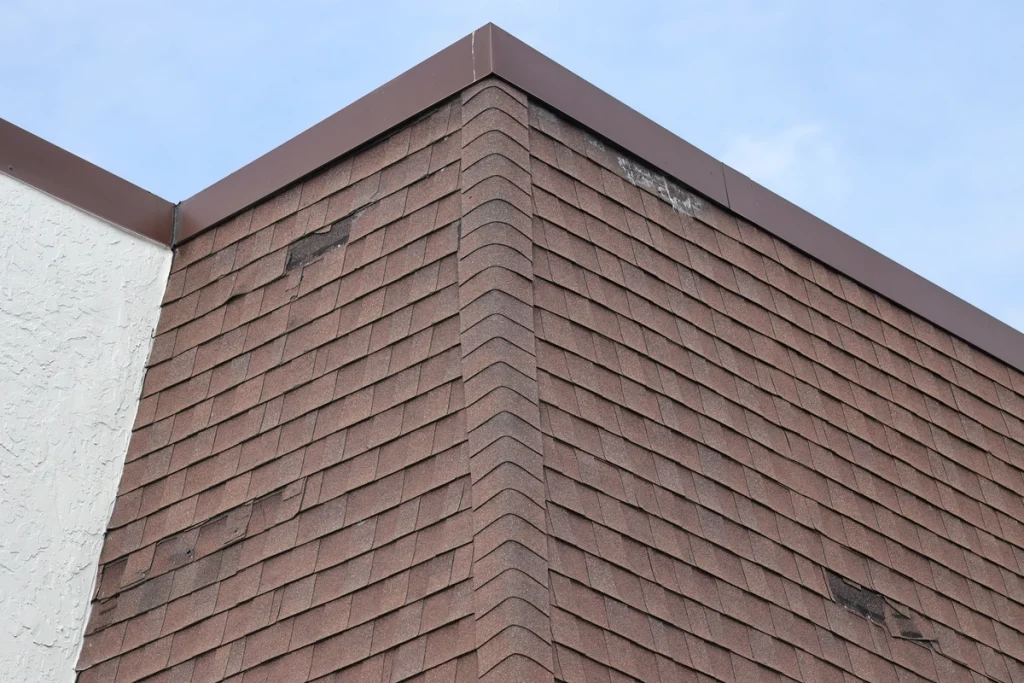
Signs You Have Missing Shingles
Before you can fix the issue, you need to know how to spot missing shingles. Here are some common signs:
- Visible bare patches: If you see exposed roof deck or underlayment, shingles are missing.
- Granules in gutters or downspouts: Significant granule loss could indicate damaged or missing shingles.
- Leaks or water stains inside the home: A roof leak may be a result of missing shingles exposing your home to water damage.
- Shingles on the ground post-storm: Strong winds can tear shingles off, leaving them scattered around your property.
Regularly inspecting asphalt shingle roofs (especially after storms) is the key to catching small problems before they escalate. If you’re unsure, hiring a professional for a roof inspection is always a smart move.
What Causes Shingles to Fall Off?
Missing shingles are more than just cosmetic — they’re a symptom of an underlying issue with your roofing system. Understanding why shingles fall off can help you catch problems early and prevent costly damage.
1. High Winds & Storm Damage
Even well-installed shingles have wind resistance limits. If your area recently experienced strong gusts, tornadoes, or thunderstorms, those forces may have lifted shingles at the edges or ripped them off entirely.
Pro Tip: If you notice granules around your gutters or driveway after a storm, it’s often a sign that shingles are deteriorating or have loosened.
2. Improper Installation
Shingles that weren’t nailed correctly or aligned properly are more vulnerable to detachment. Common installation issues include:
- Nails placed too high or too shallow
- Not enough nails per shingle
- No starter strip or improper sealing
Over time, these shortcuts can lead to shingles that flap, curl, or fall off, even in mild weather.
3. Old Age and Wear
Asphalt shingles typically last 15–25 years, depending on the material and climate. Over time, shingles become brittle, lose granules, and fail to adhere properly, especially if exposed to:
- Constant sun exposure (UV damage)
- Ice damming in winter
- Poor attic ventilation (causes overheating)
4. Animal or Tree Damage
Falling branches or critters like raccoons and squirrels can dislodge shingles, especially near roof edges and valleys. Overhanging trees are a frequent culprit, and should be trimmed to reduce risk.
5. Inadequate Roof Ventilation
Poor attic ventilation leads to trapped heat and moisture, which can cause the underside of the shingles to warp and deteriorate. That premature aging makes shingles more likely to detach, especially after temperature swings.
Should You Replace or Repair?
If you’re missing just a few shingles and your roof is in otherwise good shape, a spot repair may be all you need. But if you’re noticing repeated issues or signs of aging across multiple areas, it could be time for a professional inspection or partial replacement.
7 Steps to Replace Missing Shingles on Your Roof
Replacing shingles may sound intimidating, but with this step-by-step guide, you’ll feel more confident. Follow these six simple steps:
1. Gather Your Tools and Materials
To replace any missing shingles yourself, gather these essential tools and materials:
- Spare shingles (matching your current ones as closely as possible).
- Roofing nails and a hammer.
- Flat pry bar or roofing shovel to remove damaged shingles.
- Roofing adhesive or asphalt sealant.
Always remember, safety is the top priority. Use a sturdy ladder, secure it properly, and wear rubber-soled shoes. If the roof feels too steep, consider hiring a licensed contractor to handle the job.
2. Inspect and Assess the Damage
Before starting, it’s crucial to thoroughly inspect the roof to determine the extent of the damage. Take your time to survey the area, looking not only at the missing shingle but also at the surrounding ones. Check for any that may be loose, cracked, or curling, as these could compromise the integrity of your roof if left unattended. You might find that it’s more efficient to replace these shingles while you’re at it, ensuring a longer-lasting repair.
3. Carefully Remove the Damaged Shingle(s)
To remove the damaged shingle, you’ll need a flat pry bar to carefully loosen the shingles directly above and around the missing one. Be gentle in this process to avoid causing any additional damage. Once the area is prepped, proceed by removing any nails that hold the old shingle in place. It’s important to exercise caution here to ensure you don’t damage nearby shingles, which could lead to further repairs.
4. Prepare the Replacement Shingle
The next step involves preparing the replacement shingle. It’s essential to find a replacement that closely matches your existing shingles in color and style to maintain the aesthetic of your roof. If you can’t find an exact match, consider trimming the replacement shingle to fit the gap snugly. Proper preparation here will make the installation process smoother and more seamless.
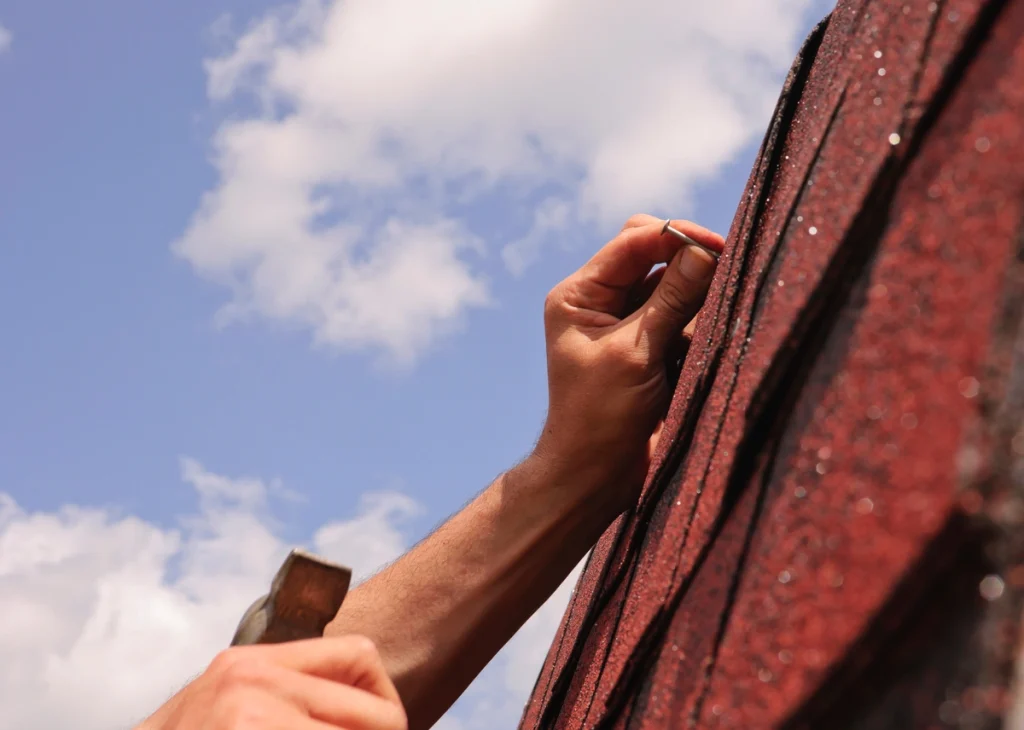
5. Install the New Shingle
With the replacement shingle prepped, you can now slide it into place under the existing shingles. This ensures it sits correctly and aligns with the rest of the roof. Secure it by nailing it down using roofing nails, taking care to place the nails where they will be covered by other shingles. This placement provides added protection from weather elements.
6. Secure the Replacement
To ensure the new shingle is securely in place, apply a roofing adhesive or asphalt sealant under the edges of the shingle. Press down firmly to make sure it adheres properly. Additionally, add a layer of adhesive beneath the overlapping shingles above to reseal them and prevent any future lifting or water infiltration.
7. Check Your Work
Once you have replaced the shingles, it’s important to double-check your work. Ensure the shingles are aligned correctly and there are no gaps present. A properly installed shingle should sit flush with the roof, providing a smooth, uniform appearance. If you’re uneasy about climbing a ladder or tackling this project on your own, don’t hesitate to reach out to roofing professionals who can offer assistance and expertise.
Why Prevention and Maintenance Matter
Replacing missing shingles is essential, but preventing future issues is even better. Here’s how you can maintain your roof’s health:
- Annual Roof Check: Schedule an annual roof inspection with a professional. This ensures that any potential problems are identified early, preventing small issues from becoming costly repairs. Professionals have the expertise to spot signs of wear and tear, leaks, or structural weaknesses that may not be visible to the untrained eye.
- Regular Gutter Cleaning: Ensure your gutters are cleaned regularly to prevent water damage. Clogged gutters can cause water to overflow and seep into the roof or foundation, leading to significant structural damage over time. Regular cleaning helps maintain proper water drainage and protects your home from potential flooding.
- Trim Overhanging Branches: Trim back overhanging branches to reduce the risk of falling debris. Branches that hang too close to your roof can scratch or damage the shingles, especially during storms. Furthermore, they provide easy access for pests and animals that might create nests or chew through roofing materials.
- Post-Storm Roof Inspection: After heavy storms, inspect your roof for visible damage and address it immediately. Storms can cause shingles to loosen or break, and heavy winds may lead to debris buildup. Prompt inspection and repair help avert leaks and further deterioration, ensuring your roof remains in good condition.
By keeping up with routine maintenance, you can extend the life of your roof and minimize expensive repairs down the line. Regular maintenance not only preserves the integrity of your roof but also increases your home’s value and safety. Investing time in these preventive measures can save money and maintain peace of mind.
Protect Your Home with Timely Shingle Repairs
Addressing missing shingles promptly is crucial for safeguarding your home against weather-related damage and ensuring its longevity. By following the steps outlined in this guide, you can handle minor repairs on your own or recognize when to seek professional help.
At ARCH Exteriors, we pride ourselves on being dependable partners in home improvement. Our experienced team is committed to delivering quality roofing solutions tailored to your needs. Don’t leave your roof’s health to chance—let the experts at ARCH Exteriors provide the peace of mind you deserve. Contact us today for a free consultation and take the first step towards preserving the integrity of your home.
FAQ’s
What happens if shingles go untreated?
If missing shingles go untreated, water can seep beneath the roof surface, causing leaks, mold growth, insulation damage, and even structural rot. Over time, this can lead to expensive repairs — not just to the roof, but to ceilings, walls, and electrical systems inside your home. In many cases, a small missing shingle that costs $10 to replace can turn into a $10,000 interior repair if ignored.
Can one missing shingle cause a leak?
Yes. Even a single missing shingle can expose the roof deck to water, especially during heavy rain. Leaks often start small and go unnoticed until significant damage has occurred.
Does homeowner’s insurance cover missing shingles?
Many insurance policies cover shingle loss due to wind, hail, or storm damage, but not if it’s caused by neglect or age. It’s best to document the damage immediately and contact your provider.


