Drip Edge Flashing (Installation, Materials & More)
 7 minutes
 November 22, 2024
 If you’re a homeowner looking to protect your roof and the rest of your home from water damage, understanding drip edge flashing is essential. This unsung hero of roofing may not be the most glamorous part of your house, but it plays a critical role in keeping your structure durable and leak-free for years to come. This guide will cover everything you need to know about drip edge flashing, including:
- What is drip edge flashing and why it matters?
- Different materials used for drip edge flashing
- How to install drip edge flashing (a step-by-step guide)
- Common mistakes to avoid when handling drip edges
🤔 What Is Drip Edge Flashing and Why Does It Matter?
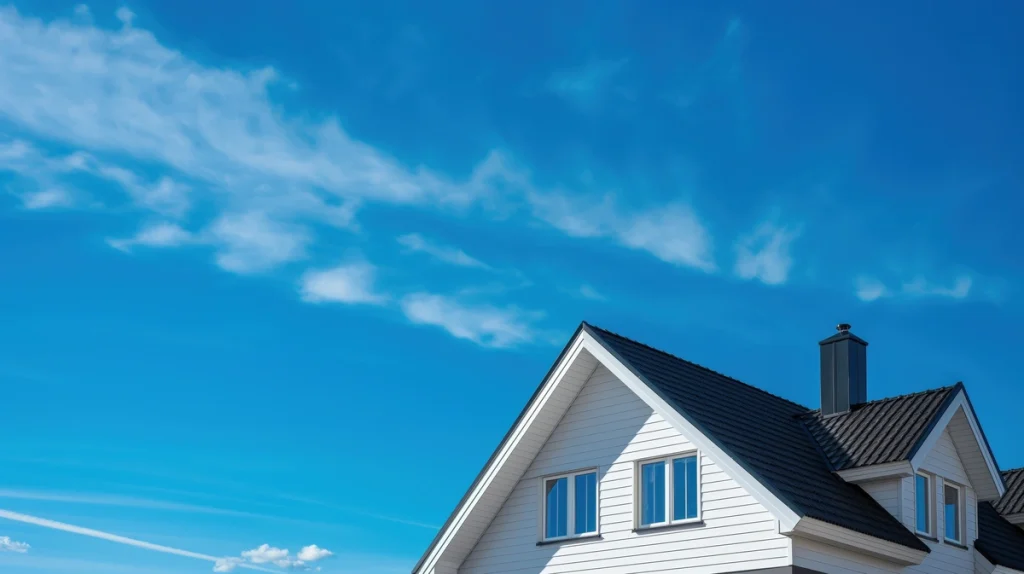
Drip edge flashing is thin metal sheeting installed along the edges of your roof. Its primary function is to direct rainwater away from your roof and into the gutter system. By doing so, it protects your roof’s fascia, underlying components, and even your home’s foundation from damage caused by rainwater or ice buildup.
Key Benefits of Drip Edge Flashing:
- Prevents Water Damage: Keeps water from seeping under shingles and into the home.
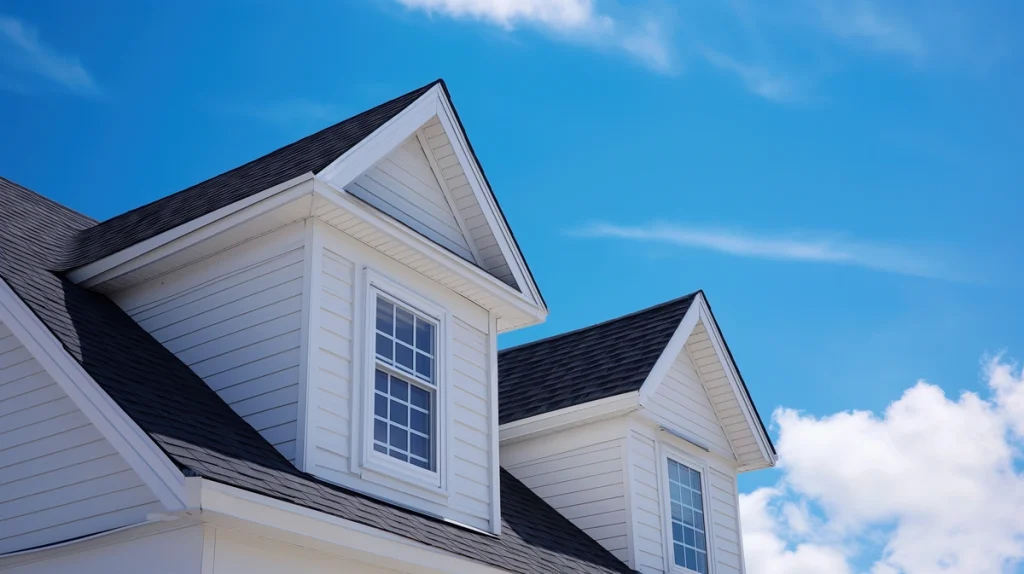
- Enhances Roof Longevity: Protects the roof deck and fascia board from rot.
- Improves Gutter Efficiency: Guides rainwater into the gutter system seamlessly.
- Boosts Curb Appeal: Ensures a clean, polished finish for your roofline.
Neglecting to install or replace drip edge flashing can lead to a host of costly problems, including water damage, mold growth, and structural instability over time.
⛓️ Materials for Drip Edge Flashing
Drip edge flashing comes in a variety of materials to suit different budgets, climates, and aesthetic preferences. Here’s an overview of the most common options:
Aluminum
Aluminum is a lightweight, affordable, and rust-resistant material, making it a popular choice for many homeowners. It is easy to cut and install, which reduces labor costs, making it a practical option for various applications. However, aluminum is less durable than other materials in areas with severe weather. It can be easily damaged by strong winds or heavy impacts, which may require more frequent replacements.
Galvanized Steel

Galvanized steel is extremely durable and strong, making it ideal for areas with strong winds or high levels of rain. It provides a high level of protection against physical damage, which makes it a popular choice for various applications. However, galvanized steel is susceptible to rust if not properly maintained and treated. Regular inspections and treatments are necessary to prevent corrosion and extend its lifespan. Without these precautions, the durability of galvanized steel may be compromised over time.
Copper
Copper is a highly durable and long-lasting material that adds a premium aesthetic to your home. One of its unique features is that it develops a natural patina over time, which enhances its appearance and adds character. However, copper is expensive compared to other materials, which can significantly increase the overall cost of a project. Its high price point might not be suitable for every budget, making it a less accessible option for some.
PVC-Coated Aluminum
PVC-coated aluminum combines the lightweight durability of aluminum with enhanced resistance to harsh weather conditions due to its PVC coating. This material provides extra protection against environmental factors, making it an excellent choice for those seeking durability and reliability. However, PVC-coated aluminum usually costs more than regular aluminum. Despite the higher price, the added benefits may justify the cost for individuals living in challenging climates where extra protection is essential.
🛠️ 6 Steps to Install Drip Edge Flashing
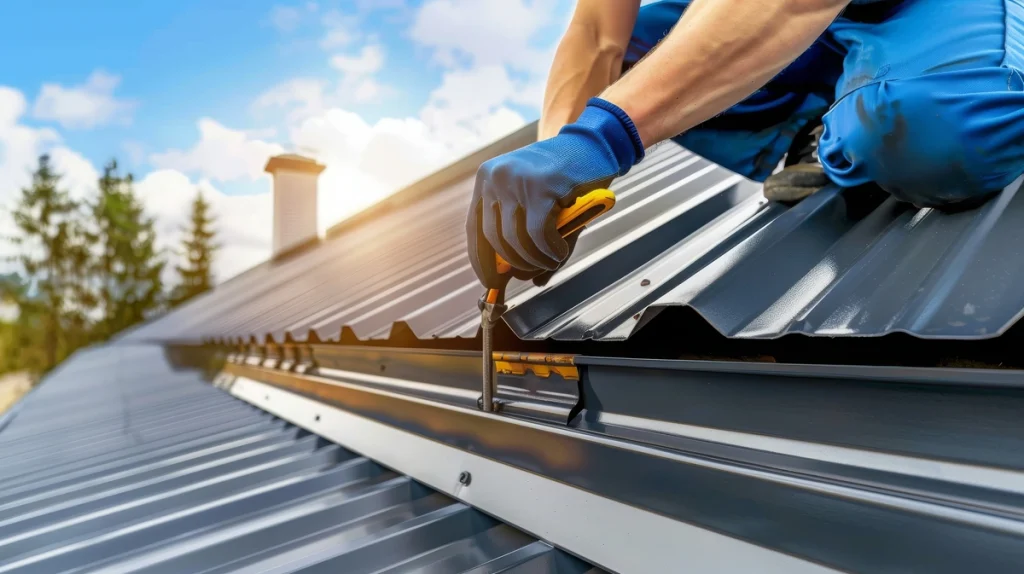
Whether you’re a DIYer or just curious about the process, here’s a comprehensive step-by-step guide to installing drip edge flashing:
1. Prepare Your Materials and Workspace
- Materials Needed: Gather all necessary materials, including drip edge pieces, roofing nails, a hammer, tin snips, and a ladder. Having everything ready will make the installation process smoother and more efficient.
- Safety First: Prioritize safety by wearing protective gloves to prevent cuts from sharp edges and ensure your ladder is stable and correctly positioned. Always follow ladder safety guidelines to avoid accidents.
2. Measure Your Roof’s Perimeter
Carefully measure the entire perimeter of your roof to determine the precise length of drip edge flashing needed. Use a measuring tape to get accurate measurements, and don’t rush this step. Cut the flashing to fit the measurements using tin snips. Remember to account for overlaps at the corners, which help prevent water from seeping through the joints.
3. Start at the Eaves
Begin the installation process at the eaves, which is the lower edge of your roof. This area is crucial because it directs water off the roof and into the gutters. Position the drip edge flashing so that it extends slightly over the gutter. This setup helps guide rainwater into the gutter system, reducing the risk of water damage to the roof and foundation.
4. Secure in Place
Secure the drip edge in place by nailing it with roofing nails. Space the nails evenly, approximately every 12 inches, to ensure the edges are firmly affixed without causing any damage to the material. Be mindful not to drive the nails too deeply, as this could compromise the flashing’s effectiveness and integrity.
5. Install Along the Rakes
Once the eaves are taken care of, move to the rakes, the sloped sides of the roof. Apply the same installation method, ensuring each piece overlaps slightly with the adjacent one. This overlap is crucial for creating a seamless barrier that channels water away from the edges, preventing leaks and water damage.
6. Inspect Your Work
Upon completing the installation, thoroughly inspect your work. Look for any gaps, misalignments, or loose edges that could compromise the flashing’s performance. Make any necessary adjustments to ensure that the drip edge is perfectly aligned and securely fastened. A well-installed drip edge will effectively protect your roof and underlying structures from water-related issues.
While it is possible to install drip edge flashing yourself, it’s crucial to get the angles, overlaps, and placements just right. Professional installation ensures optimal protection and avoids costly mistakes.
🚫 Common Mistakes to Avoid
Installing drip edge flashing may sound straightforward, but if done improperly, it can compromise your roof’s effectiveness. Here are the most common mistakes homeowners make:
- Skipping Installation: Some older homes were built without drip edge flashing, but this omission leads to water damage. Don’t skip this critical step in modern roofing.
- Improper Overlap: Failing to overlap sections of flashing can allow water to seep through the gaps.
- Wrong Material Choice: Not considering local weather conditions when selecting materials can reduce longevity.
- Nailing Too Tightly: Overdriven roofing nails may warp the flashing, making it less effective.
- Ignoring Professional Help: Drip edge flashing needs to be installed correctly; without experience, it’s easy to make costly mistakes.
🙌 Take the First Step Toward a Safer, Stronger Roof
Drip edge flashing serves as a crucial component in safeguarding your home from potential water damage and extending the lifespan of your roof. Proper installation is essential to ensure these benefits, and our team at ARCH Exteriors stands ready to deliver expert service for your home improvement needs. With a proven track record of over 15 years, we combine expertise, superior materials, and exceptional customer care to guarantee a roofing solution that enhances both the functionality and aesthetics of your home. Trust ARCH Exteriors for precise, reliable, and efficient installations. Contact us today to schedule your consultation and take the first step toward a worry-free roofing experience!


