Roof Inspection Checklist for Homeowners: What To Look For
Your roof is your home’s first line of defense against the elements. But since it’s out of sight, it’s often out of mind—until a problem like a leak appears. Regular inspections are key to catching small issues before they become costly repairs. Performing a check-up yourself can help you understand your roof’s condition, but knowing what to look for is crucial.
This guide provides a comprehensive roof inspection checklist for homeowners. We will cover:
- Why Regular Roof Inspections Are Important
- 8 Steps to Inspecting Your Roof
- Common Signs of Roof Damage
- When to Call a Professional Roofer
🤔 Why Regular Roof Inspections Are Important
Scheduling regular roof inspections is a proactive step that offers significant benefits for any homeowner. It’s about more than just checking for damage; it’s about maintaining the long-term health and safety of your home. A well-maintained roof protects your property’s value and ensures the safety of everyone inside.
Here’s why making inspections a regular habit is a smart move:
- Early Problem Detection: Catching minor issues like a few missing shingles or small cracks early can prevent them from turning into major problems, such as widespread leaks or structural damage.
- Saves Money in the Long Run: Addressing small repairs is far less expensive than a full roof replacement. Regular checks help you avoid unexpected, high-cost repairs.
- Extends Your Roof’s Lifespan: Proactive maintenance and timely repairs can significantly prolong the life of your roofing materials, helping you get the most out of your investment.
- Maintains Curb Appeal and Home Value: A roof in good condition looks better and is a key factor in your home’s overall market value. Potential buyers will see a well-cared-for roof as a major plus.
- Ensures Safety: A compromised roof can pose serious safety risks. Inspections help identify potential hazards like loose materials or structural weaknesses before they can cause harm.
✅ 8 Steps to Inspecting Your Roof
Performing a roof inspection yourself requires care and attention to detail. While a professional will always conduct the most thorough assessment, a homeowner’s inspection can identify obvious signs of trouble. Follow these steps for a safe and effective check-up.
1. Start with a Ground-Level Inspection
Begin by walking around the perimeter of your house. Look for any obvious signs of damage from the ground. This is the safest first step and can reveal a lot about your roof’s condition.
- Check for sagging areas or uneven surfaces that might indicate structural issues.
- Look for evidence of debris on the roof, such as branches or leaves, which can trap moisture and lead to damage over time.
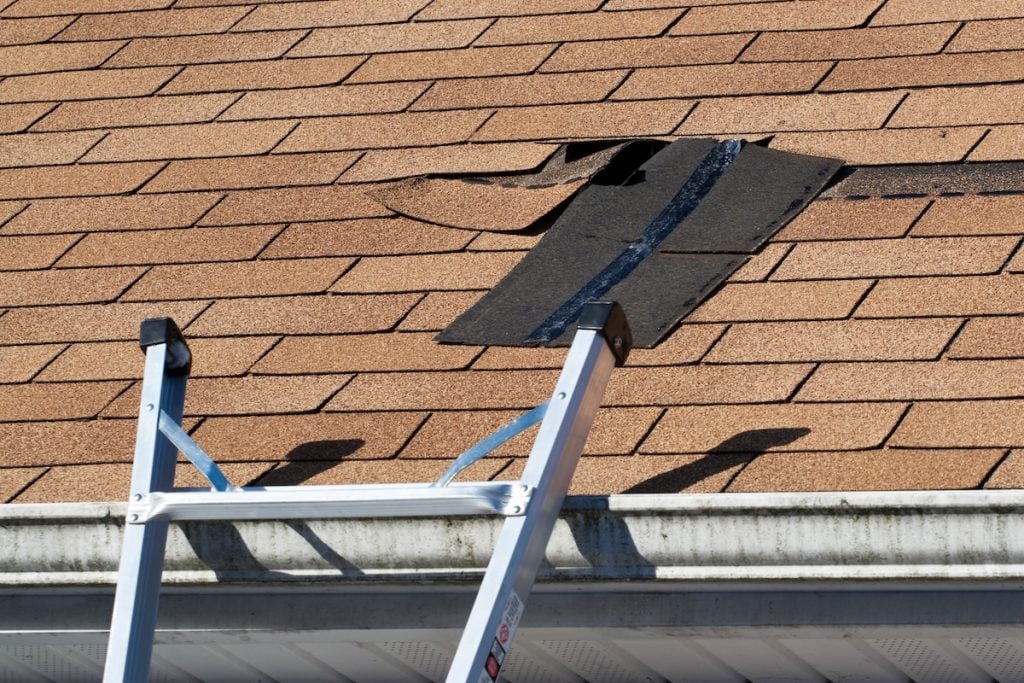
2. Check Your Shingles
Using a pair of binoculars, scan the entire surface of your roof. Pay close attention to the shingles. Look for any that are cracked, curling, buckling, or missing entirely. These are clear signs that your shingles are aging or have been damaged by weather.
- Inspect for shingles that appear discolored or have lost their granulated texture, as this indicates wear and tear.
- Look near edges and corners of the roof, which are more prone to wind damage.
3. Examine Gutters and Downspouts
Look inside your gutters for shingle granules. Asphalt shingles lose granules as they age, and finding a large amount in your gutters indicates they are nearing the end of their lifespan. Also, ensure your gutters are securely attached and not clogged with debris, which can cause water to back up onto the roof.
- Check for rust or cracks in the gutters themselves, which can impede water flow.
- Confirm that water is flowing freely out of downspouts and away from your home’s foundation.
4. Inspect Flashing
Flashing is the metal material installed around chimneys, vents, and skylights to prevent water from seeping in. Check for any signs of rust, cracks, or gaps in the sealant around these areas. Damaged flashing is a common source of leaks.
- Look for gaps where flashing meets the roof or walls, as these can allow water to seep in.
- Check areas around vent pipes and skylights, as improper flashing installation here can lead to hidden leaks.
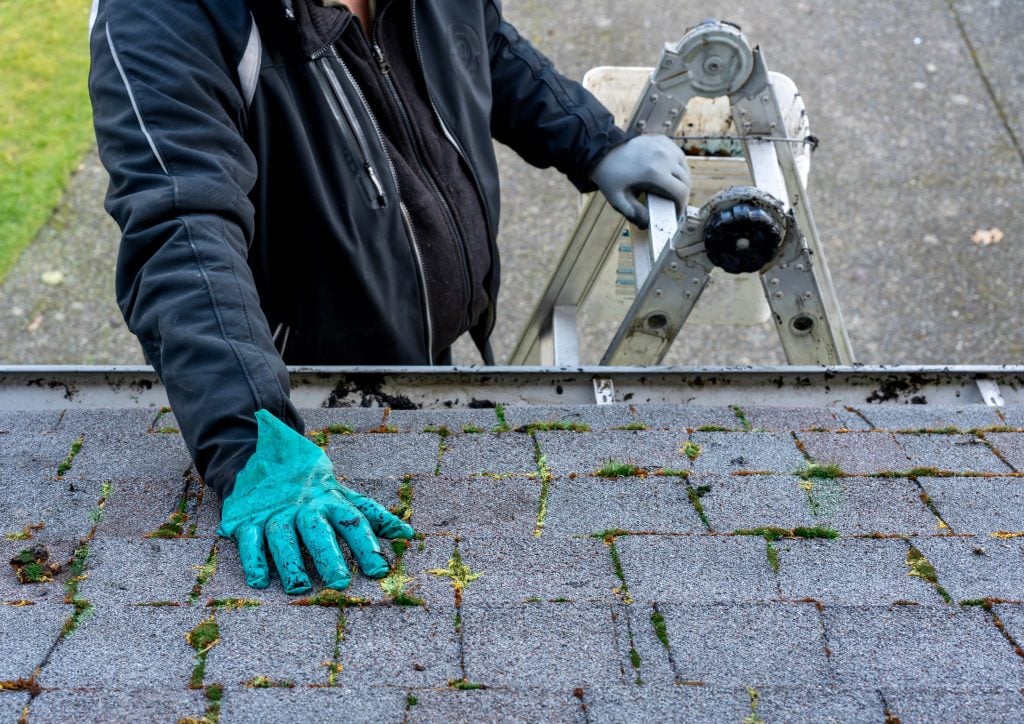
5. Look for Moss or Algae
Dark streaks or patches of moss on your roof can indicate trapped moisture, which can damage shingles over time. While it may just be a cosmetic issue in dry climates, in areas with more moisture, it can signal an underlying problem.
- Use a soft brush or cleaning solution to gently remove moss, but avoid pressure washing, which can damage shingles.
- Observe if moss or algae is spreading in specific shaded areas, as these spots may need better sunlight exposure or ventilation.
6. Check the Attic
If it’s safe to do so, head up to your attic. Look for signs of water intrusion, such as dark stains on the wood, damp insulation, or visible daylight coming through the roof boards. A musty smell is also a red flag for hidden moisture.
- Feel insulation or roof boards for dampness, even if no visible stain is present.
- Inspect for signs of mold, which can develop from long-term exposure to moisture.
7. Assess the Soffits and Fascia
Inspect the boards that run along the eaves of your roof (the fascia) and the underside of the roof overhang (the soffit). Look for signs of rot, pest damage, or peeling paint, which can indicate moisture problems.
- Check for signs of animal activity, such as nests or chew marks, which might signal pests entering through damaged areas.
- Look for gaps or holes where water or pests could easily penetrate, and seal these as needed.
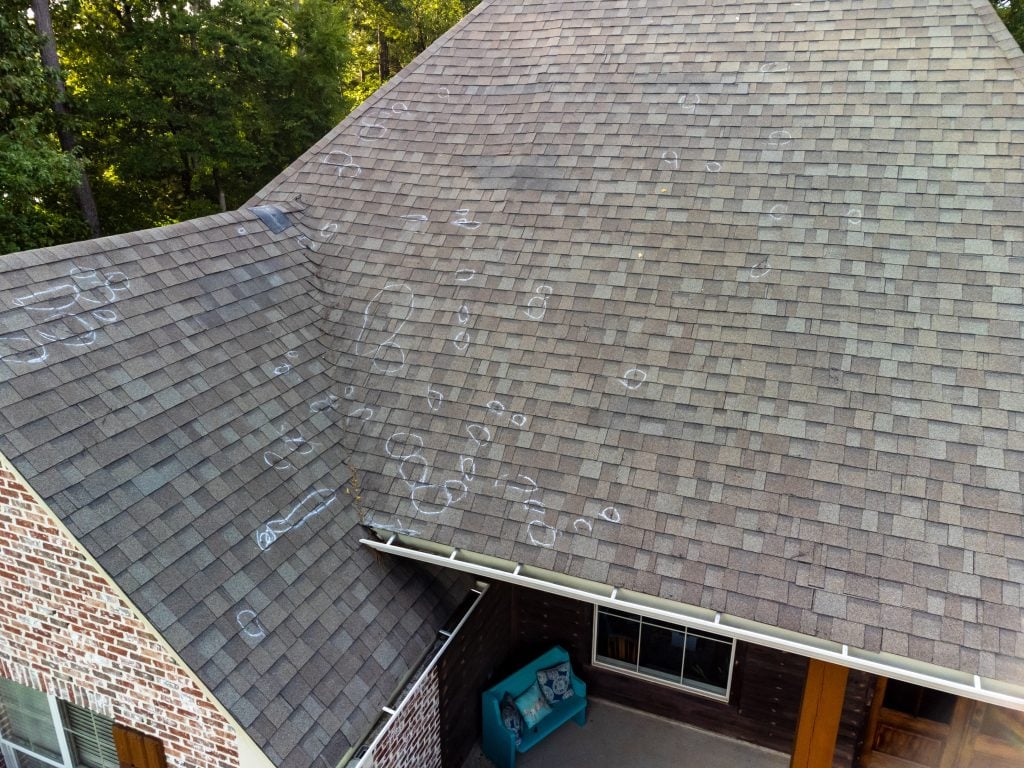
8. Document Your Findings
Take photos of any areas of concern. This documentation will be extremely helpful if you need to call a professional. It allows you to show them exactly what you’ve found and helps them assess the situation more quickly.
- Label or organize photos to clearly show different problem areas on the roof, such as flashing, shingles, or soffits.
- Keep a written list of concerns to accompany your photos, making it easier to explain issues to a contractor.
⚠️ Common Signs of Roof Damage
During your inspection, you might come across several types of damage. Understanding what these signs mean can help you determine the urgency of the situation. Keep an eye out for these common red flags.
Interior Signs
Sometimes, the first signs of a roof problem appear inside your home.
- Water Stains: Discolored patches on your ceilings or walls are a classic sign of a roof leak.
- Peeling Paint: Moisture seeping into your home can cause paint on interior walls or ceilings to peel and blister.
- Sagging Ceiling: A sagging spot indicates a more serious water leak that has saturated the drywall or plaster. This requires immediate attention.
Exterior Signs
The most obvious signs of damage will be on the outside of your home.
- Missing or Damaged Shingles: As mentioned, this is a clear indicator of wear or storm damage. Bare spots leave your roof vulnerable.
- Granule Loss: If you see “bald” spots on your asphalt shingles or a lot of granules in the gutters, your roof’s protective layer is wearing away.
- Clogged Gutters: Gutters filled with leaves and other debris can cause water to pool and seep under the shingles, leading to rot.
- Visible Wear Around Vents and Chimneys: The areas where objects protrude from your roof are high-risk spots for leaks. Check the flashing and seals carefully.
🤝 Trust ARCH Exteriors With Your Roofing Needs
A DIY roof inspection is a great way to stay on top of your home’s health, but it’s not a substitute for a professional assessment. If your inspection reveals any potential issues, or if you’re not comfortable getting on a ladder, it’s time to call in the experts. A professional roofer has the training, tools, and safety equipment to conduct a thorough and safe evaluation.
If you have concerns about your roof, don’t wait for a small problem to become a big one. Contact ARCH Exteriors todayfor a free, no-obligation consultation.


