Roof Flashing Repair: 7 Leak Signs, Fixes & 2026 Costs
 11 minutes
 June 18, 2024
 Flashing fails quietly. By the time most homeowners notice a stain on the ceiling or water dripping near the chimney, the flashing has usually been compromised for months. Roof flashing repair addresses the metal seals at every point where the roof meets another surface, including chimneys, skylights, walls, and valleys. Catching a flashing problem early keeps a repair in the $150 to $500 range. Ignoring it long enough and you are looking at decking replacement and interior damage. If your roof is showing any of the signs below, getting a professional assessment is the right first step.
Here is what this guide covers:
- 7 signs your flashing is failing
- The types of flashing and where each one is used
- How a professional flashing repair actually works
- 2026 cost ranges for re-sealing, step flashing, chimney flashing, and skylight flashing
Why Repairing Damaged Flashing Matters
Repairing damaged flashing is crucial for preventing water from entering your home, which can lead to serious structural damage and costly repairs. Flashing is designed to seal joints and vulnerable areas like chimneys, skylights, and vents. When damaged, these areas become susceptible to leaks, mold growth, and wood rot. Timely flashing repairs protect your roof’s integrity, extend its lifespan, and maintain the safety of your home, ensuring that your roof continues to perform its protective function against the elements.
7 Signs Your Flashing Is Failing
Flashing problems are almost never obvious from the ground. Most homeowners discover them after water has already found a path inside. Knowing what to look for on the roof surface and inside the home helps catch the problem before the damage spreads.
1. Water Stains Near a Chimney or Skylight
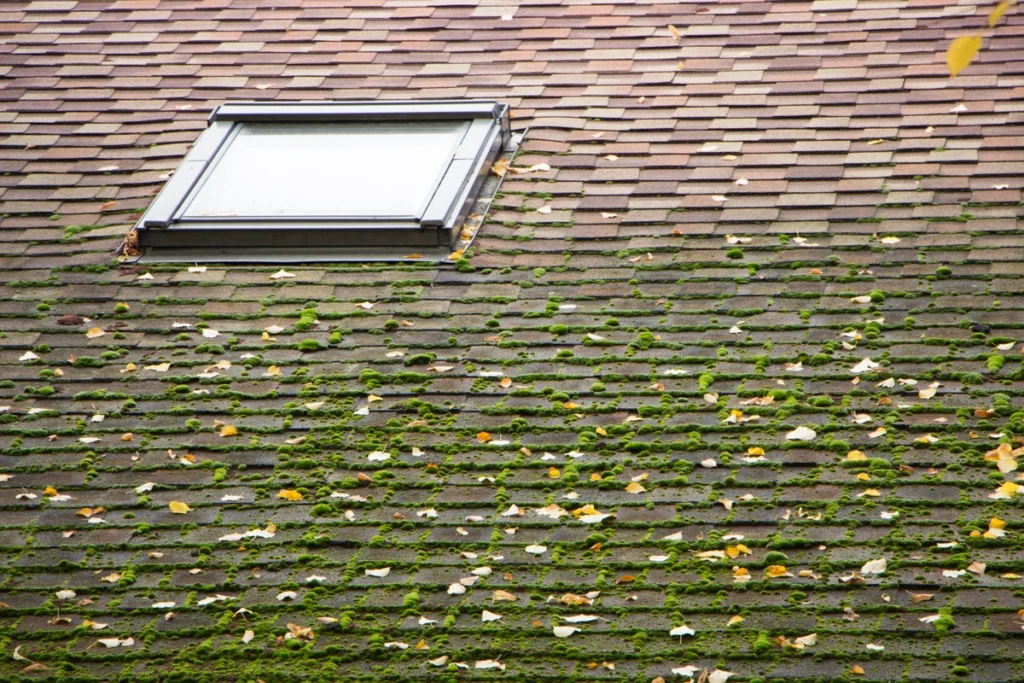
Brown or yellowish staining on the ceiling directly below a chimney, skylight, or dormer is the clearest interior indicator of a flashing failure at that penetration. The stain appears below the leak source because water travels along the roof decking or framing before dripping. If the stain grows after rain events, the flashing is actively failing. See our detailed guide to bad chimney flashing for the full list of indicators specific to chimney-related leaks.
2. Rust on Visible Flashing
Orange or brown rust streaking down the face of flashing is a sign the metal has lost its protective coating and is oxidizing. Galvanized steel flashing that has rusted through can no longer form a watertight seal at the joints, even if it appears structurally intact. Surface rust that has not yet penetrated through the metal is still repairable. Rust that extends through the metal requires replacement.
3. Lifted or Bent Metal
Flashing that has pulled away from the surface it seals, or that has visibly bent upward at the edges, is no longer in contact with the substrate. Wind uplift, freeze-thaw cycling, and thermal expansion over years all contribute to this. A raised flashing edge is an open channel for wind-driven rain, and it typically cannot be pushed back into place and sealed effectively without removing and replacing the section.
4. Cracked or Missing Sealante
Roofing sealant applied at flashing joints, seams, and transitions degrades faster than the metal itself. It becomes brittle, cracks, and shrinks away from the surface over time. Cracked sealant is the most common and most accessible flashing repair, and it is also the one that gets ignored the longest because the metal looks intact. Missing sealant at a lap joint or around a vent pipe collar is a direct water entry point.
5. Loose Step Flashing at Walls
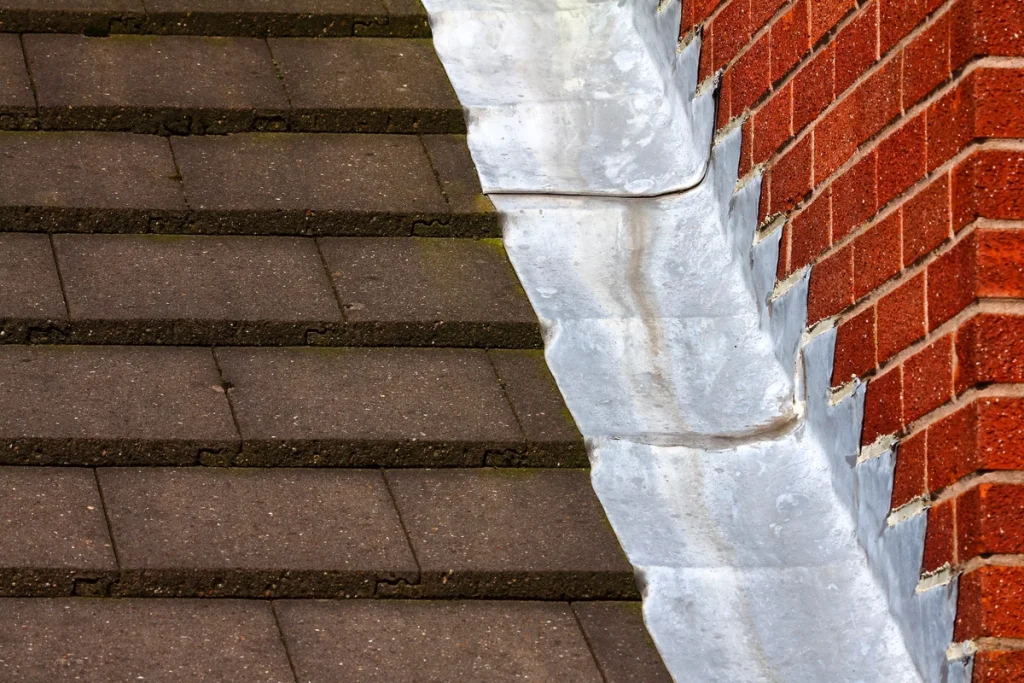
Step flashing is installed in individual overlapping pieces at every course of shingles where the roof meets a vertical wall. When step flashing pieces back out from under the shingles due to fastener failure or frame movement, the lap seal is broken and water runs directly behind the shingles and into the wall cavity. This type of failure is typically not visible from the ground and requires a professional to identify during a roof inspection.
6. Shingle Granules Collecting at Flashing Edges
Granule accumulation in the gutter or at the base of downspouts is a normal sign of shingle aging. Granules concentrating specifically at flashing edges are a different signal. They indicate that flashing edges are lifting or creating turbulence in water flow, which erodes the granule surface of adjacent shingles faster than normal and can accelerate shingle deterioration in a localized area.
7. Interior Leaks That Appear Only in Wind-Driven Rain
A leak that appears only during heavy, wind-driven rain events and not during ordinary rainfall is a signature of failed flashing rather than a roof surface problem. Ordinary rainfall drains vertically through the roofing system. Wind-driven rain is forced horizontally under lifted flashing edges or into open joints that gravity alone would not penetrate. This symptom points specifically to a flashing failure, usually at a wall or penetration edge.
Types of Flashing: A Quick Reference
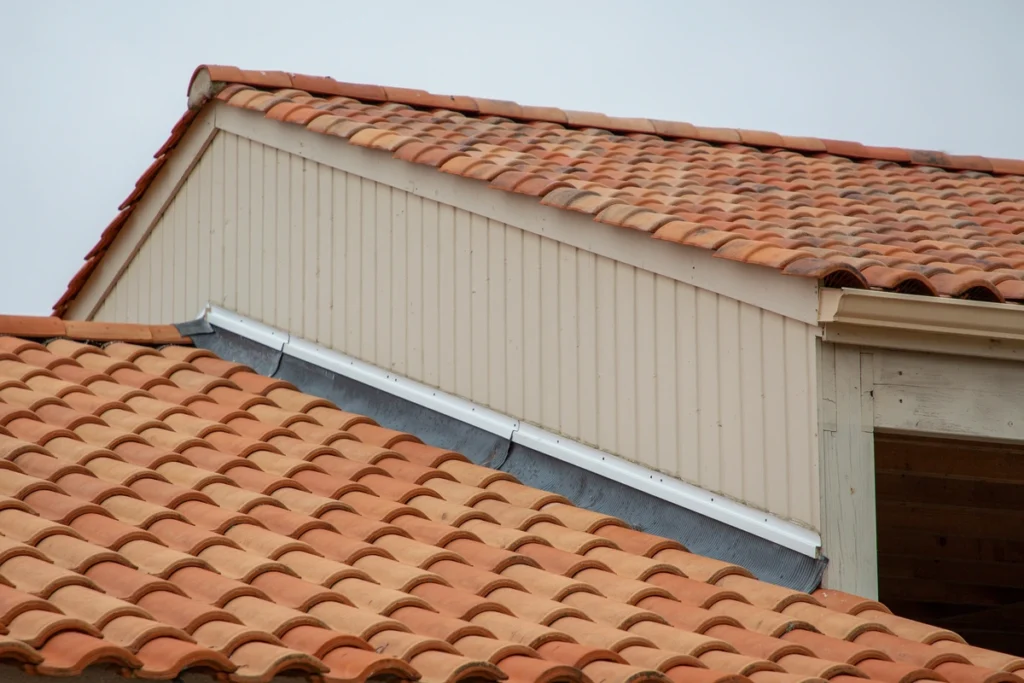
Roof flashing comes in several forms, each designed for a specific location and function. Step flashing is used at every course of shingles where the roof meets a vertical surface, such as a chimney side or a dormer wall, and consists of individual L-shaped pieces that overlap each other as they go up the slope. Counter flashing is the metal cap that covers and overlaps step flashing at chimney or masonry surfaces, usually embedded in a mortar joint. Valley flashing runs along the channel formed where two roof planes meet, directing water down and off the roof. Drip edge is the metal strip installed along the eave and rake edges to direct water cleanly into the gutter and away from the fascia. Vent pipe flashing fits over individual vent pipes, creating a sealed collar between the pipe and the surrounding shingles. Each type requires different materials and installation technique when it fails.
How a Professional Repairs Roof Flashing
Flashing repair is not a general roofing task. It requires identifying the actual failure point, which is often not where the leak appears inside, and then replacing or re-sealing only the section that has failed. Here is what the process looks like from a roofer’s perspective.
Step 1: Inspect and locate. The repair starts with a full inspection of every flashing location on the roof, not just the obvious one. Leaks rarely come from exactly where they appear inside. The roofer probes sealant joints, checks that step flashing is properly lapped and still seated under the shingles, and looks for lifted edges or rust that is not visible from ground level. Locating all failure points before starting repair prevents a return visit for a second leak.
Step 2: Remove the damaged section. Depending on the type of flashing involved, repair requires lifting or removing the adjacent shingles, pulling the fasteners from the damaged piece, and clearing all old sealant from the contact surfaces. Trying to seal over existing failed sealant without removing it is the most common cause of repeat flashing failures. The area must be clean and dry before new material goes in.
Step 3: Cut and fit new flashing. New flashing is cut to match the profile of the section being replaced. For step flashing, each piece is sized and bent to match the shingle course height and the wall angle. For chimney or skylight flashing, the new metal must be shaped to fit the specific geometry of the penetration, which often requires bending in multiple directions.
Step 4: Fasten. New flashing is fastened with roofing nails or screws driven into solid substrate at the correct spacing. Fasteners are placed to avoid the waterway so they do not create penetration points in the path of water flow. Shingles are replaced over step flashing as each course is secured.
Step 5: Seal. Roofing cement is applied at all edges, joints, and transitions where the flashing meets another surface. Sealant is applied in a continuous bead rather than in spots, and joints that require it receive a reinforcing layer of mesh fabric embedded in the cement. Sealing is done last so that the metal is fully positioned and fastened before the sealant sets.
Step 6: Test. The completed repair is tested either with a hose directed at the specific repaired location or by observing the area during the next rainfall. The interior is checked simultaneously for any sign of continued infiltration. If any moisture appears, the repair is adjusted before the job is considered complete.
Re-sealing versus metal replacement. Homeowners can sometimes address cracked or missing sealant on accessible, low-slope flashing sections themselves using roofing cement from a tube applicator. This is appropriate only when the metal itself is flat, tight, and showing no rust, lifting, or deformation. Any time the metal has lifted, bent, rusted through, or pulled away from its substrate, the metal must be replaced. Sealant applied over lifted or rusted metal delays the problem without fixing it.
2026 Roof Flashing Repair Costs
Flashing repair cost depends on what type of flashing has failed and how much of it needs to be replaced. Re-sealing is the least expensive scenario. Full metal replacement at a chimney or skylight is the most involved and the costliest.
| Repair Type | 2026 Cost Range |
| Re-sealing only (accessible flashing) | $150 to $350 |
| Step flashing replacement (per section) | $300 to $700 |
| Chimney flashing replacement | $500 to $1,500 |
| Skylight flashing replacement | $400 to $900 |
| Valley flashing replacement | $400 to $1,200 |
Flashing repair is frequently included inside a roof repair visit when a roofer is already on the roof diagnosing a leak. In those cases, the inspection cost covers identifying all failure points and the repair cost covers only the labor and materials for the specific sections addressed. A standalone flashing repair visit carries a service call charge in addition to repair costs.
The cost difference between catching a flashing problem early and allowing it to develop is significant. A $350 re-seal done at the first sign of a cracked sealant joint prevents the $1,500 chimney flashing replacement that becomes necessary after two winters of water infiltration have worked behind the metal and begun to rot the surrounding wood.
FAQs
How do I know if my flashing needs repair?
Signs include rust, cracks, gaps, loose flashing, and water stains inside your home. Interior leaks that appear only during wind-driven rain are a specific indicator of flashing failure rather than a roof surface problem.
Can I repair roof flashing myself?
Re-sealing cracked or missing sealant on accessible flashing is within DIY range when the metal itself is flat, tight, and rust-free. Any repair that involves lifted, bent, or rusted metal requires replacement rather than sealing and is best handled by a professional.
How much does roof flashing repair cost?
In 2026, re-sealing accessible flashing runs $150 to $350. Step flashing replacement per section costs $300 to $700. Chimney flashing replacement ranges from $500 to $1,500 and skylight flashing from $400 to $900. Flashing repair is often included inside a roof repair visit, which reduces the effective cost when multiple issues are addressed at the same time.
What happens if I ignore damaged flashing?
Ignoring damaged flashing allows water to enter the roof assembly at the failure point during every rain event. Over time this causes rot in the roof decking and structural framing, mold growth in the attic insulation, and interior ceiling or wall damage. What starts as a $300 re-seal becomes a $5,000 decking replacement if left long enough.
Can damaged flashing be replaced without replacing the entire roof?
Yes. Flashing is replaced or repaired independently of the shingles in most cases. The adjacent shingles are carefully lifted, the damaged flashing section is removed and replaced, and the shingles are reset. Full roof replacement is only warranted when the shingles themselves have also reached end of life.
Protect Your Roof with Professional Flashing Repair
Flashing failures are responsible for a disproportionate share of roofing water damage claims, and the repair window closes faster than most homeowners realize. The signs in this guide are worth checking for after any significant wind or rain event, particularly at chimneys, skylights, and any wall intersection on the roof.
ARCH Exteriors repairs and replaces roof flashing for homeowners throughout Maryland and Northern Virginia. We inspect the full roofing system, identify every failure point, and provide a clear scope of work before starting. Contact us today to schedule a free inspection and find out what your flashing actually needs.