How to Install a Window AC Unit: Step-By-Step Guide
When summer rolls around, finding reprieve in an air-conditioned room can quickly become one of your favorite pastimes. Of course, older homes and apartments often don’t have central air, which makes window AC units an absolute summer necessity. Window AC units can also contribute to better circulation of air within a space, helping to maintain a comfortable environment.
While window air conditioning units may seem a bit intimidating, they’re actually pretty easy to install. Unless of course, your existing windows are damaged, in which case you may want to consider learning how to install window ac unit before a heatwave hits!
In all seriousness, it just takes the right installation guide and tools to get the job done. Read on to learn more about properly installing your window AC unit.
Considerations For Window Air Conditioners

If this is your first time installing a window AC unit, there are a handful of things to know before you run out to the store to buy one.
Old Homes May Need a Once-Over
For starters, older homes may not be the greatest candidates for window air conditioners. This is because old homes typically equal old window sills and sashes that aren’t as structurally sound as they once were. In this instance, a window AC unit can end up causing damage, such as cracks in the glass, which would prevent a secure installation and cause you to possibly prematurely replace your windows.
Ideally, the first thing you’ll need to do is check your windows, frames, etc to ensure they’re strong enough to accommodate a window AC unit. If they’re not, you’re going to need to learn how to measure for window replacements or call in the professionals.
The Window Unit Has to Fit Exactly
The other important thing to keep in mind is the specs of the new AC unit. You have to make sure that it’s the right size for your window, otherwise, it won’t fit. If the window unit was given to you by someone else or bought second-hand, you’ll need to measure it along with the distance that its side panels extend and compare those measurements to the width of your window when open.
You’ll Need the Right Output For Your Space
Lastly, you’ll need to understand the various window AC unit outputs, which are referred to as a British Thermal Unit (BTU). BTUs are important as their values determine how much of a space the unit can cool.
For example:
- 5,000 to 6,500 BTUs will sufficiently cool rooms from 100 to 300 square feet
- 7,000 to 8,500 BTUs will sufficiently cool rooms from 250 to 500 square feet
- 9,800 to 12,500 BTUs will sufficiently cool rooms from 500 to 900 square feet
Your Window Type Matters
Window AC units are generally designed to work with most single-hung windows and double-hung windows. However, sliding windows and casement windows can make things more complex as they require additional hardware to seal open spaces and secure the unit to the window. This is something you’ll want to have figured out before you start the installation process.
Additionally, storm windows and storm window frames can obstruct the installation process and may need to be removed or adjusted. Options include removing the storm window or using a spacer block to ensure proper installation and drainage.
You also want to be sure that there’s an outlet near the window you’ll be using. If the outlet is out of reach and there aren’t any other window options, you’ll need to purchase an AC-rated extension cord.
How to Install a Window AC Unit Step-By-Step
Once you’ve assessed your windows and the type of output needed for your space, you can start preparing for the installation of your window AC unit. The first thing you’ll need to do is round up the right tools for the job, which include:
- Utility knife
- Power drill
- Screwdriver
- Tape measure
- Torpedo level
- A sturdy bench or stool to place the AC unit on
- A buddy, because two sets of hands are always better than one for heavy AC units!
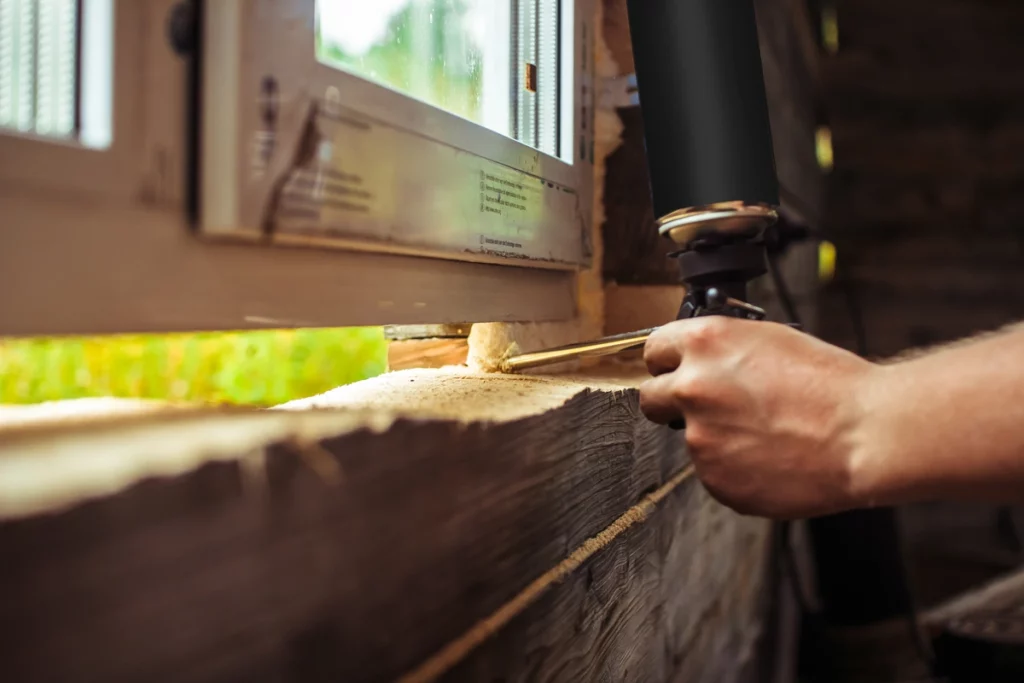
Preparing the Window Frame
Before installing a window air conditioner, it’s essential to prepare the window frame to ensure a secure and stable installation. Start by inspecting the window frame for any damage or rot. If you find any issues, repair or replace the frame as needed to provide a solid foundation for your AC unit.
Next, clean the window frame and sill thoroughly to remove any dirt, dust, or debris that could interfere with the installation. Check for any obstructions, such as storm windows or screens, and remove them if necessary to create a clear space for the air conditioner.
Measure the window opening to ensure it’s the correct size for your window air conditioner. Use a level to check that the window frame is level and plumb, which is crucial for proper drainage and airflow. If the frame isn’t level, use shims or spacers to adjust it until it is.
Apply a bead of caulk around the window frame to create a seal and prevent air leaks. Allow the caulk to dry completely before proceeding with the installation. By preparing the window frame properly, you’ll ensure a safe and efficient installation of your window air conditioner.
When you have everything you need to get started, you can follow these six steps:
Step 1: Prepare the Window and the AC Unit
The first thing you’ll need to do to install your window AC unit is to get the actual window ready. This means opening the window completely, removing the screen, and cleaning out any dirt or debris from inside the window track and the window sill.
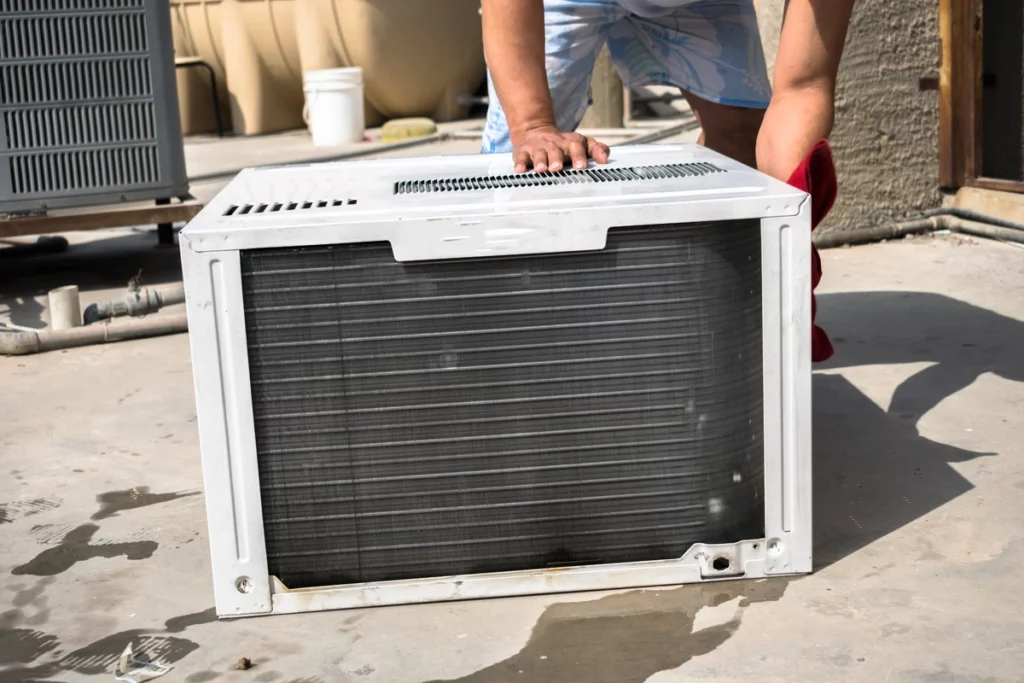
You’ll want to keep your new AC as close to the window as possible for the time being to make it more accessible. However, if you’re using last year’s unit or a used unit from elsewhere, it’s a good idea to give it a good cleaning.
- Start by removing the air filter in the front of the unit. Wash it with soap and water and let it dry completely.
- While the filter is drying, use a vacuum that has a brush attachment to remove any dust, pet hair, or other debris from the rest of the unit.
- Next, check the inside of the vents and between the fins for dust and debris. It’s best to blow the debris away with compressed air to avoid damage to the fins, otherwise, you can use a pipe cleaning brush to gently sweep away the debris.
Installing the Window Air Conditioner
Once the window frame is prepared, it’s time to install the window air conditioner. Begin by following the manufacturer’s instructions for specific installation requirements, as different models may have unique procedures.
Place the window air conditioner in the window opening, ensuring it’s centered and secure. Use the provided installation kit, which usually includes brackets, screws, and other hardware, to secure the unit to the window frame. Tighten the screws firmly to ensure the unit is stable and secure.
Connect the power cord to a nearby outlet, ensuring it’s safely secured and out of the way. Plug in the unit and test it to ensure it’s working properly. Adjust the unit’s settings to your desired temperature and airflow. Use the window air conditioner’s built-in features, such as the thermostat and fan settings, to optimize its performance.
By following the manufacturer’s instructions and taking the necessary precautions, you’ll ensure a safe and efficient installation of your window air conditioner.
Step 2: Assemble the Window AC Unit
If your new AC unit is still in the box, you’ll want to take it out of the box and remove any plastic or styrofoam pieces still attached to examine it. Keep in mind that the back of the window AC unit contains very sharp aluminum fins, which can easily cut you. They’re also incredibly fragile, and crushing them will reduce the unit’s effectiveness.
Once you’ve made sure that your AC unit is in perfect condition, you can go ahead and install its extendable side panels and their corresponding brackets as per the installation instructions. This part usually requires a screwdriver, as a power drill can strip the unit’s housing if done improperly. Ensuring all parts of window units are properly assembled and secured is crucial for effective operation.
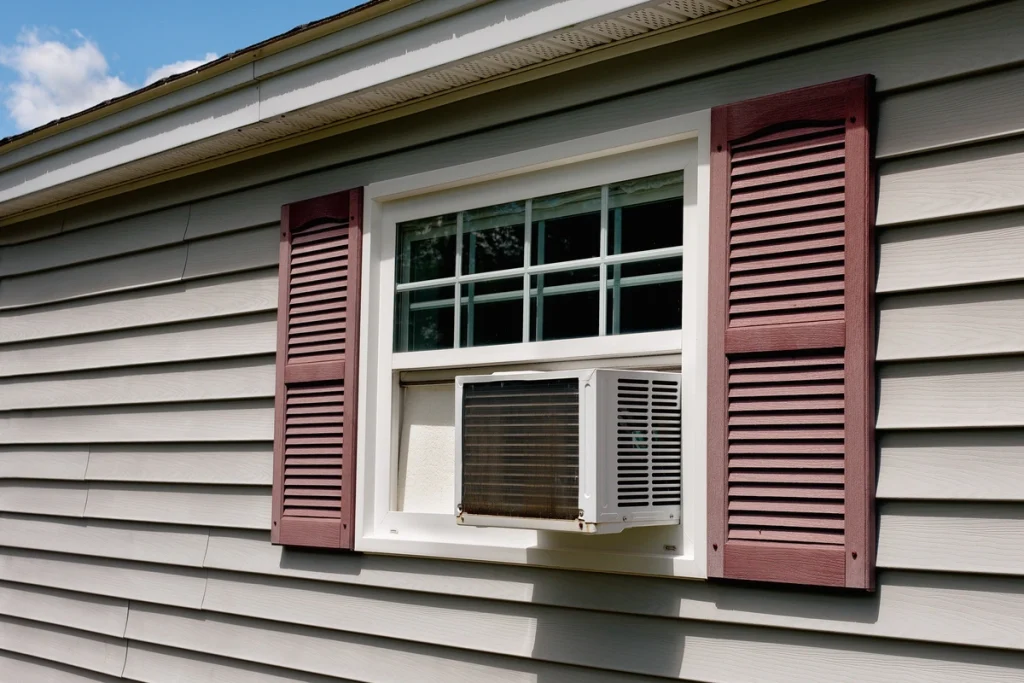
Step 3: Put the AC Unit in the Window Opening
When putting your AC unit in the window, you’ll want to make sure that the front of the unit is facing you. Be sure to lift it from both sides to avoid damage. (This is where your buddy would come in handy)
All window AC units have a bracket on the bottom side. This bracket is usually where the side panels slide out from, which means the bracket has to sit on the outside of the window’s lower lip. There is also a brack on the top of the AC unit, which must be fitted inside the window.
With all of this in mind, you’ll want to lift the unit up and place it in the window. You’ll need to lower the window sash at this time as well, ensuring the top brackets sit flush against the bottom of the window sash. DO NOT let go of the AC unit until this is done!
Once you’re able to let go of the AC unit, you can check to make sure that you’ve centered the unit in the window. To do this, place the torpedo level on top of the unit to make sure that the unit is level on all sides and also pitched backward to ensure that any water drains outside of your home rather than inside.
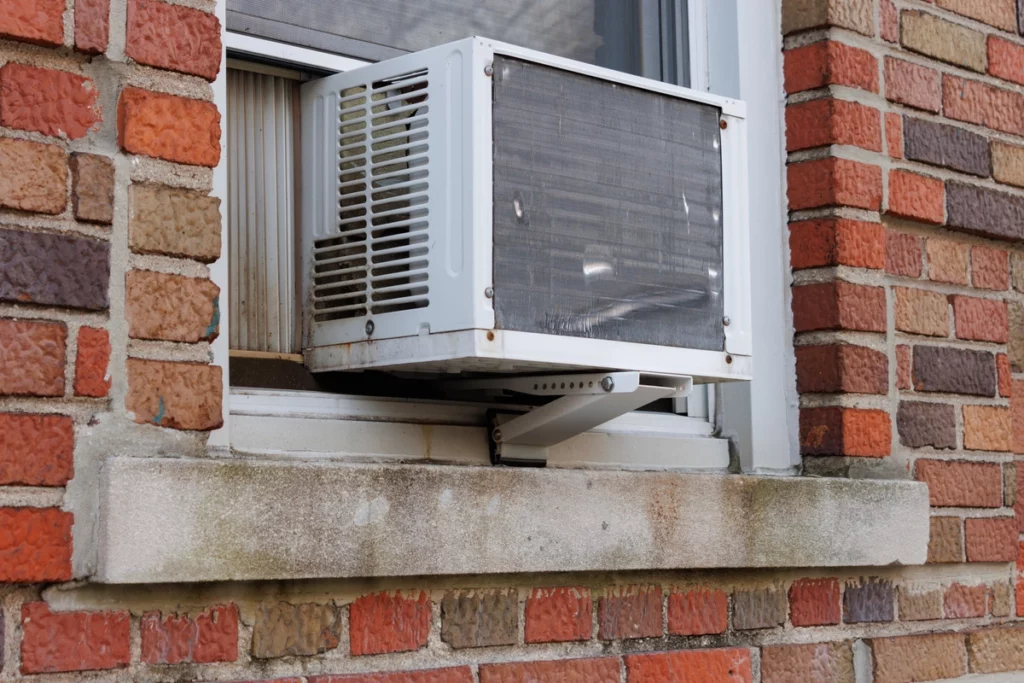
Step 4: Extend and Secure Your Side Panels
Once your AC unit is level with your window, you can go ahead and extend the side panels so they can block the window openings on either side completely. The manufacturer’s instruction booklet will tell you exactly how to do this, as it’s different for each type of window AC unit — but it will either involve attaching brackets directly to the window sash or tightening screws into the panel holes and window sash to secure it.
Step 5: Screw the Unit in Place
At this point, your AC unit will be in place. However, some manufacturers will include more brackets to anchor it down for extra security.
The installation kit should include at least one L-Shaped bracket. This bracket is responsible for keeping the window sashes locked in place, and it’s usually installed where the sash meets the top of the AC unit. So, follow the manufacturer’s instructions to install the bracket to lock your unit in place and prevent it from falling out of the window (or getting stolen).
Sealing and Insulating the Installation

After installing the window air conditioner, it’s essential to seal and insulate the installation to prevent air leaks and improve efficiency. Use weatherstripping or caulk to seal any gaps between the unit and the window frame. This will help keep the cool air inside and the hot air outside.
Apply insulation around the unit, such as foam tape or spray foam, to prevent air leaks and reduce noise. Ensure the window air conditioner’s drain is properly connected and directed outside to prevent water damage. Use a drain pan or tray to catch any condensate that may accumulate.
Insulate the power cord and any other exposed wiring to prevent damage and improve safety. Use a window air conditioner cover or shroud to protect the unit from the elements and improve its appearance. Regularly inspect and maintain the installation to ensure it remains secure and efficient.
By sealing and insulating the installation, you’ll improve the performance and efficiency of your window air conditioner. Proper maintenance and upkeep will also extend the lifespan of your window air conditioner and ensure it continues to provide cool air and comfort for years to come.
Step 6: Plug in the AC Unit
The only thing left to do now is to plug your window AC unit into the nearest outlet and press the ON button. Keep in mind that it could take a few minutes for the unit’s condensers to warm up and start pumping the refrigerant through the lines to start producing cold air. So, don’t be alarmed if it’s blowing warm air at first.
What if You Need New Windows First?
As mentioned earlier, your window may not be strong enough to support a window AC unit due to its age and wear and tear. In this case, you’ll need to replace the windows where you’ll be installing units. Even if your windows are still in good shape, it may be a good idea to upgrade to something more energy efficient to avoid forcing your new AC unit to work overtime in the heat.
If you don’t feel like learning how to measure for replacement windows, you can get in touch with the experts at ARCH Exteriors. We offer free consultations, reliable estimates, and special financing — so you don’t have to go without AC this summer if new windows aren’t in your budget right now!
Can you install window AC yourself?
Yes, you can install a window air conditioner yourself if you follow the manufacturer’s instructions and take safety precautions. The process involves securing the unit in the window, ensuring proper support, and sealing gaps to prevent air leaks. However, for larger or heavier units, having an extra person to assist can make installation safer and easier.
Does a window air conditioner have to be perfectly level?
No, a window air conditioner should be slightly tilted outward to allow proper drainage of condensation. Most manufacturers recommend a slight downward tilt (about ½ inch) toward the outside to prevent water from pooling inside the unit. However, excessive tilting can affect performance and cause operational issues.
How to properly seal a window air conditioner?
To properly seal a window air conditioner, use foam weather stripping around the gaps between the unit and the window frame. Additionally, install side panels securely and seal any remaining openings with caulk or insulated tape to prevent drafts and improve energy efficiency. Regularly check and replace worn seals to maintain a tight fit.


