How To Repair Cracked Window Glass (Step By Step)
Are you dealing with cracked window glass and in need of a window repair?
Taking the initiative and learning how to repair cracked window glass or fix your window pane may seem daunting, but it’s important to have a strong foundation for your windows. This is because windows can be a weak spot in your home if there are cracks or improper sealing, resulting in energy loss.
But don’t worry, if you’re a committed DIYer, we created this step-by-step guide to get started. Read on to learn how to repair cracked window glass to keep the elements out.
Step-By-Step Guide to Replace Glass Windows
If the broken pane isn’t too big, the replacement should be relatively easy. That being said, if it’s a specialty pane, such as a large or high-performance glass, it’s best to contact a glass dealer to order the correct replacement before removing the old pane.
Follow the steps below to safely replace broken window glass:
Step 1: Gather Your Essentials

If you choose to DIY your window repair, you’ll need to gather all essential tools and materials beforehand to make it as efficient as possible. When it comes to installing new glass pane in wood frame windows, you will need:
- Thick work gloves
- Masking tape
- Safety Glasses
- Chisel
- Long-nose pliers
- Newspaper
- Small paintbrush
- Glass cutter
- Glazing compound putty – holds the glass in place
- Razor scraper
- Thin ropes
- Dry cloth
- Glazing points- small metal clips placed into the wood every 4 to 6 inches
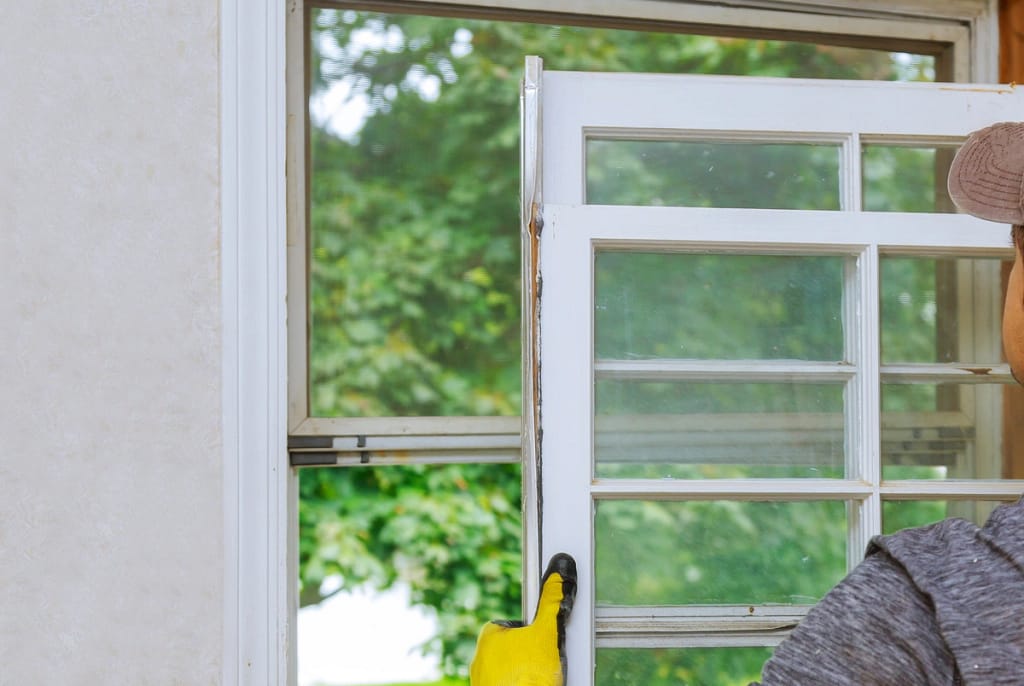
After gathering everything from different hardware stores or your local home center, it’s time to take out the broken parts of the window frame and begin the process of safely replacing window glass. Quick reminder: working with broken glass of any kind can be hazardous, especially if you aren’t using the correct equipment. Make sure to always use thick gloves and wear safety glasses to carefully remove shards. To safely dispose of the fragments, wrap them in newspaper and throw them away in your regular trash.
Step 2: Remove the Broken Glass
Analyze and inspect the glass plane, then tape the cracked pane with a cross-patch of duct tape to further prevent the spread or potential shattering of glass. If the window is in an upper-story building, it might be best to call a professional to carefully take out the broken windowpane.

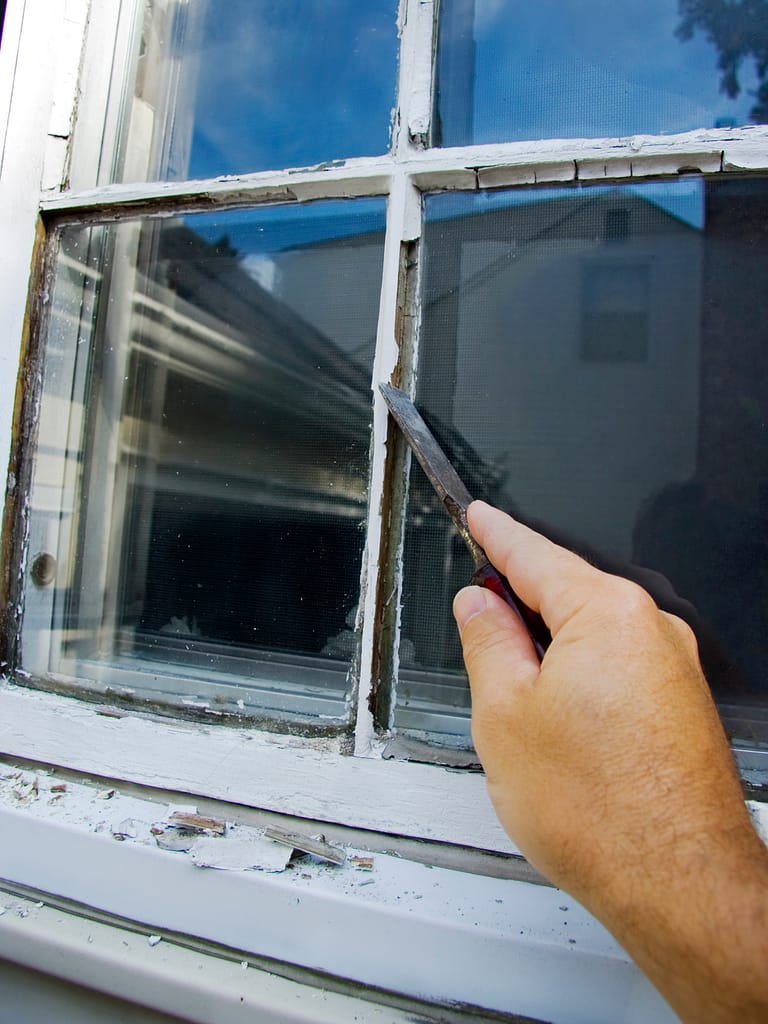
For those looking to do a DIY installation on lower-level broken windows, start by chiseling out the old putty after removing the splintered glass. Soaking it with linseed oil or softening it with a heat gun can help loosen it up too. Wipe away excess linseed oil, then, remove the previous metal glazing points from the bare wood with a long-nose plier, clean and sand the wood frame, and paint with a wood sealer coating along the surface.
If you only see a small scratch in the glass or glazing putty, you can try applying a coat of clear nail polish for a quick solution. Remove any excess nail polish with a clean cloth. Old putty can break and let in the air around the edge of the panes, and you’ll need to scrape it off with a razor blade before starting again.
Step 3: Find Matching New Glass
After carefully removing the shards of glass from your window pane, take a sample to your local hardware store to try and get a similar kind of glass to install. Speaking with an expert is a great way to match special coatings or other features. It’s worth noting that it may be hard to find a close match if you’re dealing with old glass. Different glass types will have different installation requirements, which is something to consider when choosing between insulated glass, single pane, and double pane windows.
Step 3: Repairing Window Glass
Take the glazing compound and press a rope size amount around the opening with your fingers and a putty knife to create a new bed for the new glass. Replace it by holding it and securing it in place, and wiping away the excess putty. This is the time to push the new glazier’s points into the frame with a putty knife.

Using a putty knife, apply more glazing compound around the exposed wood to fill in the area and form a tight seal. Using more putty or new putty, you’ll create a great surface to hold the glass in place. Once the glazing compound is dry, you’ll want to paint it so that it matches the window sash.
Step 3: Replacing Glass in Metal or Vinyl Windows
With a metal or vinyl sash, glass is held in place using a metal spring clip, plastic or metal holdings, and a rubber seal. Reglazing these types of windows is simple since you can remove the parts that retain the regular glass, pull out the shards, and then insert the new pieces of glass and metal points into the sash.
Securing Rubber Seals
If the glass is secured with rubber seals, you’ll need to unscrew the sash halves to remove the interior ones. Clear out the glass fragments with a brush, place the new pane against one sash half, then replace the other one in order to safely secure the different sash parts with screws.
Working With a Rubber Gasket
When glass sits in one continuous rubber gasket or four different ones, you’ll want to remove the vertical screws from the sash to pull the end away from it. Always make sure to clean out the glass, then pull the gasket around the new window panes. Secure the sash after sliding the pane on it.
Setting a Sash With Snap-Out Moldings
Loosen one side of the snap-out molding by carefully inserting the tip of the putty knife between the two ends. Using the frame for leverage, you can pry it gently apart, pull out the loosened strip, insert the replacement glass, then finally push the molding pieces back into place with your hands, discarding any damaged ones.
Keep an Eye Out for Window Condensation

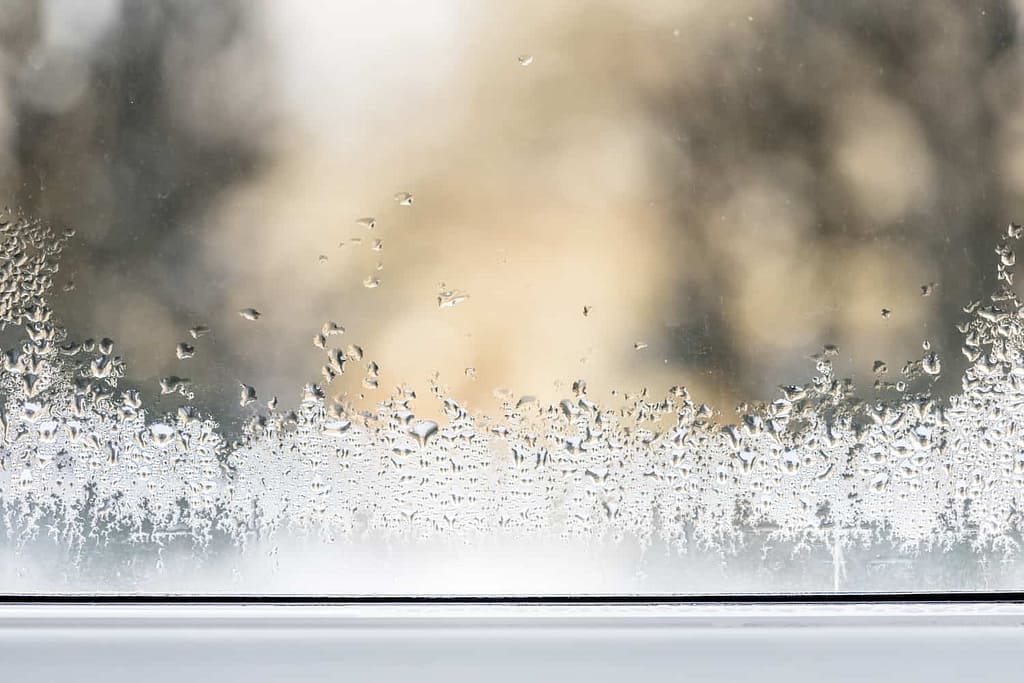
Since windows are generally the coolest surfaces in your home, they are more likely to collect condensation when temperatures dip low outside and the interior room is warm. To avoid mold and mildew rotting away window frames and window sills, continuously check for these circumstances.
Plus, condensation is an indication that there are high humidity levels in the space. You can reduce these conditions by increasing ventilation with fans, reducing time spent in the shower, and even adding a dehumidifier to tricky areas.
Condensation In-Between Glass Panes
If you have a dual-glazed window and start to notice condensation, this indicates a weak seal around the perimeter. At this point, the only solution is to, unfortunately, replace the glazing. For this reason, it’s a good idea to consider installing high-quality thermal windows instead.
Working With the Professionals
Replacing windows isn’t the easiest job, and it’s in your best interest to ensure it’s done well. For this reason, it’s a good idea to consult a professional for the best results.
Contact ARCH Exteriors today.
Our team is happy to help inspect broken window panes, make recommendations, and easily replace your windows to safeguard your home against the elements.
ARCH Exteriors is a licensed and insured home services company that proudly serves the Maryland and Virginia areas. If you need to repair broken glass, reach out to the specialist at ARCH Exteriors to help with your project.
Fill out our form to contact us today.


