How To Install Vertical Vinyl Siding? (6 Expert Tips)
Looking to upgrade the exterior of your home? Vertical vinyl siding may be just what you need. Not only does it offer a sleek, modern look for your property, but it’s also durable, low-maintenance, and available in various colors and textures to match your style. However, installing vertical vinyl siding requires precision and the right approach. This guide will walk you through everything you need to know about vertical vinyl siding installation, from preparation to execution, with expert tips along the way. Here’s what we’ll cover:
- What is vertical vinyl siding?
- How to install vertical vinyl siding
- Common mistakes to avoid
🤔 What Is Vertical Vinyl Siding?

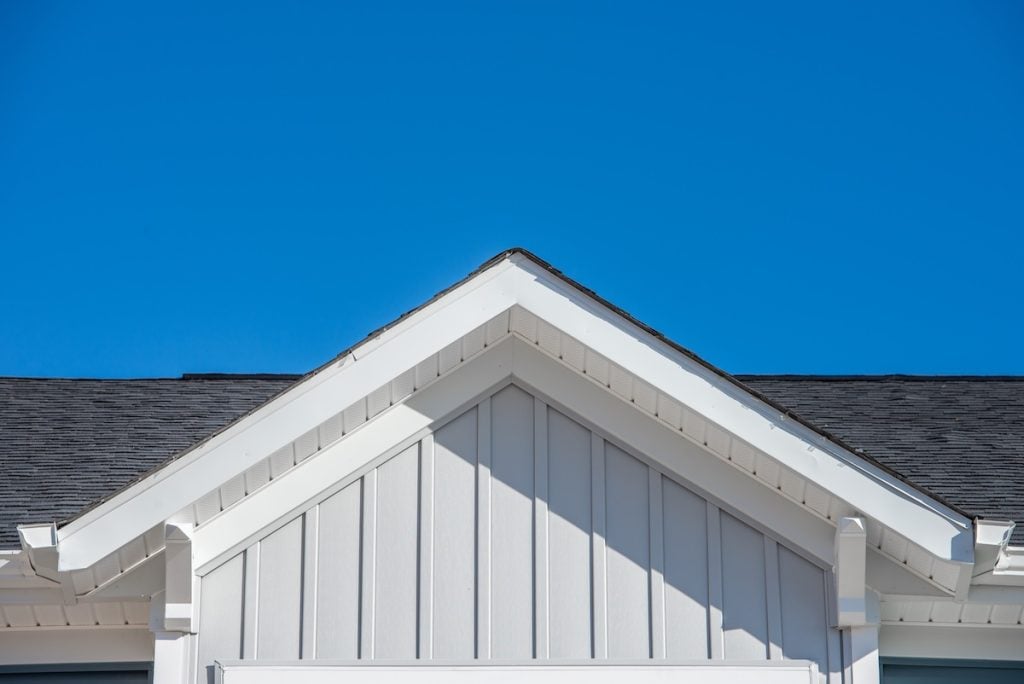
Vertical vinyl siding is a type of exterior cladding where the siding panels are installed in a vertical orientation, rather than the traditional horizontal layout. This design style has been gaining popularity among homeowners as it gives homes a unique, fresh look while maintaining the durability and low upkeep associated with vinyl siding.
It’s a great option for achieving a modern farmhouse or contemporary design aesthetic. Plus, it’s weather-resistant and cost-effective, making it a practical choice for long-term use.
Benefits of Choosing Vertical Vinyl Siding
If you’re considering vertical vinyl siding, here are the top advantages that make it a standout choice for homeowners:
- Visual Appeal: Vertical siding adds character and visual interest to your property, making it stand out in your neighborhood.
- Durability: Made to withstand harsh weather conditions, vinyl siding won’t warp, peel, or rot like wood siding might.
- Easy Maintenance: A simple rinse with a garden hose is often enough to keep vertical vinyl siding looking great.
- Cost-Effective: Vinyl siding is one of the most affordable exterior cladding options, especially compared to materials like stone or wood.
- Customizable: With numerous styles, textures, and colors, you can personalize your home’s exterior to suit your taste.
✅ 6 Steps To Install Vertical Vinyl Siding
Installing vertical vinyl siding isn’t overly complex, but it does require proper planning and execution. Follow these steps for a smooth installation process:
1. Gather Your Tools and Materials
Before starting your vinyl siding project, it’s essential to gather all the tools and materials you’ll need to ensure a smooth installation process. Begin by having a measuring tape on hand for accurate measurements, which is key to achieving a precise fit. A chalk line will help you mark straight guidelines on the walls, while a hammer and nails will be required to secure the siding in place. For cutting the vinyl siding panels to the correct size, a circular saw will be invaluable for larger cuts, and a utility knife will come in handy for making finer, more detailed adjustments. To ensure proper alignment, keep a level nearby. Additionally, you’ll need the vinyl siding panels themselves, starter strips to anchor the first row of siding, and corner posts to give the edges of your home a clean, finished appearance. Having everything ready at the start will save you time and effort during the installation process.
2. Prepare the Surface
Before installing any siding, it’s important to prepare the exterior surface of your home thoroughly. Inspect the walls for any damage, such as loose or rotting boards, and repair these issues to create a stable foundation for the siding. A solid wall structure is critical to the long-term effectiveness of the siding. Once the repairs are complete, install a moisture-resistant barrier, such as house wrap, over the exterior walls. This barrier will protect your home from water infiltration, which can lead to structural damage over time. Proper preparation of the surface ensures that the siding will perform effectively and provides a solid base for a professional-looking installation.
3. Install Corner Posts and Starter Strips
The installation process begins with the corner posts and starter strips, which are fundamental to ensuring a clean and polished appearance. Attach the corner posts securely to the corners of your house. These posts not only provide a finished edge but also act as guides that help align the siding panels during installation. Once the corner posts are in place, focus on the base of the wall. Install the starter strips along the bottom edge, ensuring they are perfectly level. These strips anchor the first row of siding panels and influence the alignment of the entire installation. Taking the time to install these foundational elements correctly is essential to achieving a successful and professional result.
4. Measure and Cut the Panels
Accurate measurements and clean cuts are crucial to the success of your vinyl siding installation. Using a chalk line, mark the wall to indicate where each siding panel will be placed. Carefully measure the length required for each panel to ensure a precise fit. For larger cuts, use a circular saw to trim the panels to size. For finer or more detailed cuts, such as those needed for corners or around windows, a utility knife can provide better control. Precise measurements and cuts will prevent gaps, misalignment, or uneven edges, ensuring a seamless and polished final appearance.
5. Begin Installing Panels
With the corner posts and starter strips in place and your panels cut to size, it’s time to start installing the siding. Begin at one corner of the wall and work your way across. Slide the first panel into the starter strip and secure it to the wall using nails. Ensure the nails are not driven in too tightly so the panel has room to expand and contract with changes in temperature. Continue this process with each subsequent panel, ensuring they interlock tightly with the previous one for a secure fit. Work methodically across the wall, checking each panel’s alignment to maintain a consistent and professional look.
6. Add Finishing Touches
Once all the siding panels have been installed, focus on the finishing touches to complete the project. Install J-channels around windows, doors, and any other openings to create a neat, framed appearance. These channels provide a smooth transition between the siding and other elements of your home, enhancing the overall aesthetic. Finally, snap the last siding panels into place and carefully inspect the entire installation. Check for alignment, secure fastening, and any gaps or misfits. By double-checking your work, you can ensure the siding is properly installed and achieves a polished, professional finish that will last for years to come.
👉 Common Mistakes to Avoid

Even with the best intentions, DIYers can sometimes make avoidable mistakes when installing vertical vinyl siding. Here are a few to watch out for:
Skipping the Moisture Barrier
One of the most common mistakes in siding installation is neglecting to install a moisture barrier, such as a house wrap. This essential layer protects your home from moisture infiltration, which can lead to mold, rot, and long-term structural damage. Without this barrier, moisture can seep behind the siding, compromising the integrity of your home. Always ensure a proper moisture barrier is in place before installing siding to keep your home safe and durable.
Over-Nailing the Panels
Driving nails too tightly into the siding panels is a frequent error that can cause major issues down the line. Siding needs room to expand and contract with changing temperatures. When it’s nailed too tightly, it can’t move properly, leading to warping, buckling, and cracking over time. Make sure nails are driven in snugly but not so tight that they restrict the panel’s natural movement.
Ignoring Level Measurements
Properly aligned siding panels are crucial for a professional-looking finish. Skipping level measurements can result in uneven panels that not only look sloppy but may also lead to improper sealing and water leakage. Always use a level to check your work as you go, ensuring straight, even lines that will enhance your home’s appearance and functionality.
Incorrect Cuts Around Openings
Poorly measured and cut openings for windows and doors can lead to unsightly gaps, uneven edges, and water intrusion. These gaps can allow rainwater to seep into the walls, causing damage over time. Take the time to measure accurately and cut precisely, using proper tools to ensure a snug, clean fit around all openings. This attention to detail will prevent problems and give your siding a polished, professional appearance.
🏠 Vertical Vinyl Siding
At Arch Exteriors, we understand that your home deserves nothing but the best, and our vertical vinyl siding solutions are designed to enhance both its beauty and durability. With expert craftsmanship, high-quality materials, and a customer-first approach, we’re the team you can trust to bring your vision to life.
Ready to elevate your home’s exterior? Contact Arch Exteriors today for a free consultation and let’s get started on your next siding project!


