How To Paint Vinyl Siding In 6 Steps?
Wondering how to paint vinyl siding? You’re not alone. Many homeowners love the low maintenance and durability of vinyl, but over time, fading, discoloration, or a dated color can dull your home’s curb appeal.
The good news? You don’t need to replace it. With the right preparation and tools, painting vinyl siding can be a cost-effective, long-lasting way to update your exterior without the hefty price tag of new siding.
Key Takeaways:
- Painting vinyl siding is a budget-friendly upgrade.
- Use vinyl-safe 100% acrylic latex paint.
- Always clean and prep before painting.
- Paint in dry, mild weather (50°F–85°F).
- Apply two thin coats for best results.
- Avoid mistakes like skipping prep or using the wrong paint.
Why Paint Vinyl Siding Instead of Replacing It?
Replacing vinyl siding can cost $15,000–$25,000, depending on the size of your home and materials used. But if your siding is still in good condition structurally, painting it is a far more budget-friendly and effective solution. Especially if you’re looking for a visual upgrade, not a total overhaul.
Here’s why painting is often the better choice:
- Major Cost Savings: Painting costs a fraction of replacement, often between $3,000–$6,000 depending on the size of your home, saving you up to 70% while still achieving a refreshed, like-new look.
- Instant Curb Appea: A fresh coat of paint can completely modernize your home’s exterior. Whether you’re tired of outdated beige or want a bold new color, painting gives you control over your home’s aesthetic without construction hassle.
- Environmentally Friendly: Choosing to paint keeps perfectly usable materials out of the landfill. It’s a more sustainable home improvement decision for eco-conscious homeowners.
- Faster Turnaround: While siding replacement can take 1–2 weeks, painting can often be done in just a few days, depending on the weather and size of the project.
Tools & Materials Checklist
| Tool / Material | Purpose / Notes | Required? |
|---|---|---|
| Power washer or hose + cleaner | Cleans siding to ensure paint adhesion | Yes |
| Drop cloths & painter’s tape | Protects windows, landscaping, and fixtures | Yes |
| 100% acrylic latex paint | Must be vinyl-safe for flexibility and adhesion | Yes |
| Paint sprayer or brush/roller | For even paint application across surfaces | Yes |
| Bonding primer (optional) | Needed for dark-to-light or weathered surfaces | Optional |
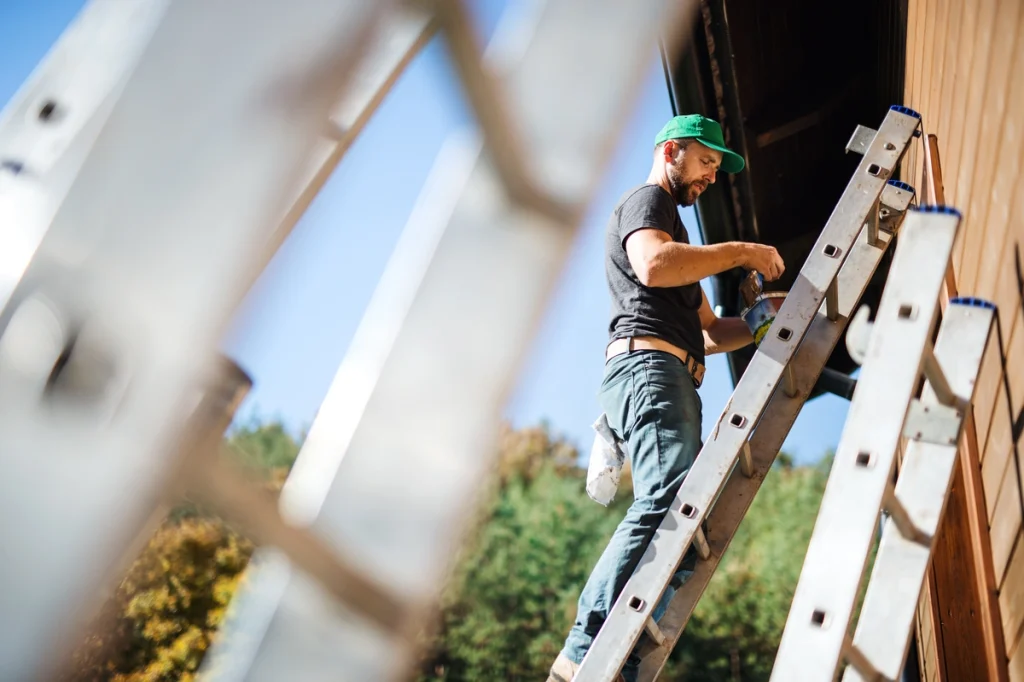
| Ladder, safety gear | For reaching high areas and safety | Optional |
How to Prepare Vinyl Siding for Painting (Step-by-Step)
Proper preparation is the foundation of a long-lasting, professional-looking paint job. Skipping or rushing this step can lead to peeling, uneven color, or poor adhesion. Follow these essential steps to get your vinyl siding ready for a flawless finish:
Step 1: Inspect for Damage or Warping
Before you do anything else, take a close look at your siding.
- Check for cracks, warping, or loose panels, especially around corners, windows, and doors.
- Any damaged sections should be repaired or replaced before painting, as paint won’t adhere well to compromised surfaces.
- Painting over damaged siding can trap moisture and lead to early failure.
Step 2: Clean Thoroughly
Clean siding ensures proper paint adhesion and a smooth finish.
- Use a power washer or garden hose with a siding-safe cleaning solution.
- Focus on removing dirt, chalky residue, mildew, and pollen, especially in shaded or damp areas (like under eaves or near sprinkler zones).
- Let the siding dry completely, typically 24 to 48 hours depending on weather conditions.
Step 3: Remove Fixtures and Protect Surroundings
Make sure you have a clear, unobstructed surface and that everything nearby is protected.
- Remove or mask off shutters, downspouts, light fixtures, and house numbers.
- Cover landscaping, flower beds, decks, and windows with drop cloths and painter’s tape to prevent overspray or accidental splatters.
How To Paint Vinyl Siding in 6 Simple Steps
Painting vinyl siding might seem intimidating, but with the right tools and prep, it’s a straightforward weekend project that can dramatically boost your home’s curb appeal. Here’s how to do it right:
Step 1: Gather the Right Tools
Set yourself up for success by assembling everything you’ll need before you start.
- Power washer (or hose with siding cleaner)
- Drop cloths and painter’s tape
- 100% acrylic latex paint made for exterior vinyl
- Paint sprayer for large areas (or a brush/roller with an extension pole)
- Optional: bonding primer, ladder, safety gear
Step 2: Clean the Surface Thoroughly
Clean siding means strong paint adhesion.
- Power wash to remove mildew, dirt, and chalky residue.
- Focus on shaded or moist areas where buildup is common.
- Let the surface dry for at least 24–48 hours before moving on
Step 3: Prime (If Needed)
Priming isn’t always required, but here’s when you should do it:
- You’re painting a lighter color over a dark one
- The siding is weathered or chalky
- You’re switching to a non-compatible paint brand
Use a vinyl-safe bonding primer for best results and increased durabilit
Step 4: Paint in the Right Weather Conditions
Timing matters just as much as technique.
- Paint when temps are between 50°F and 85°F
- Avoid high humidity, rain, or direct sun (which causes flashing and streaks)
- Ideal conditions: Dry, overcast morning with mild temps
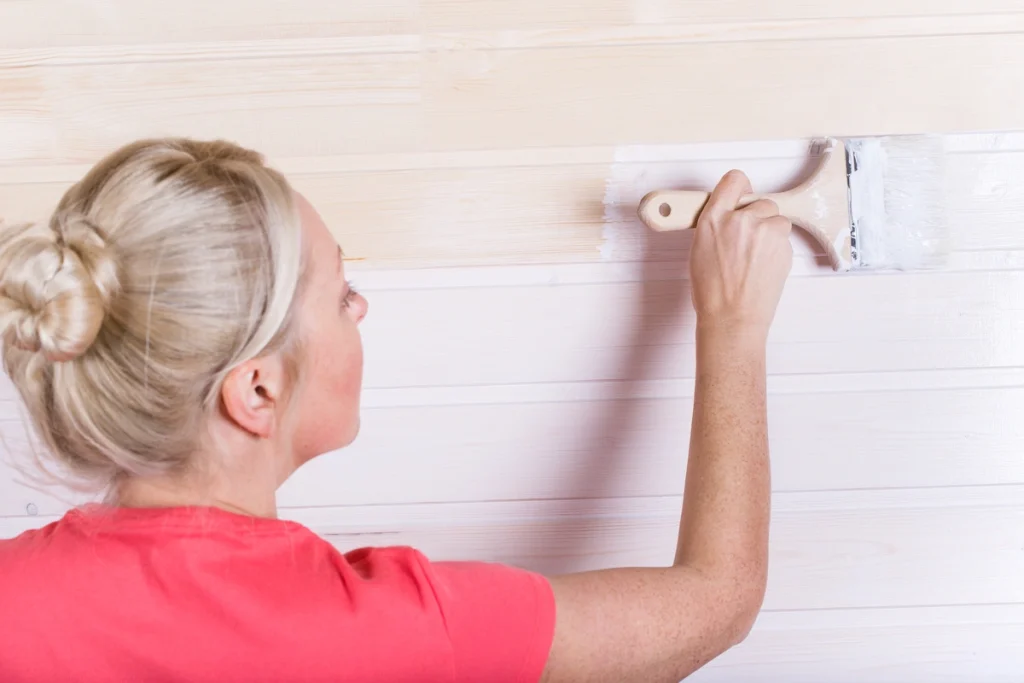
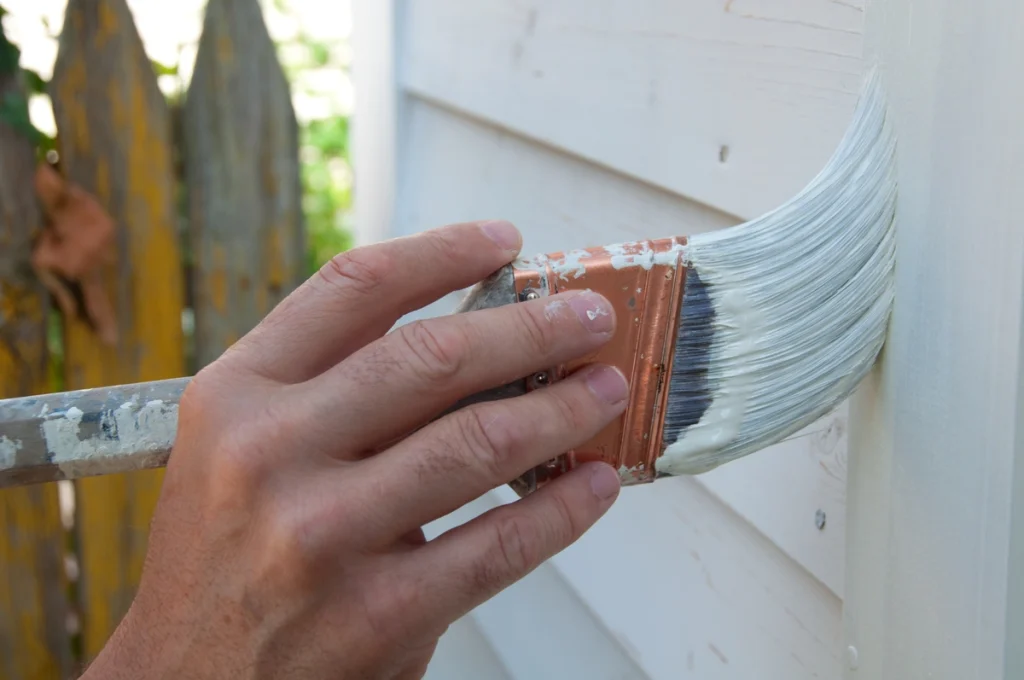
Step 5: Apply Two Thin, Even Coats
This is where the magic happens.
- Use a paint sprayer for large areas, or a brush/roller for detail work.
- Apply two thin coats rather than one thick one.
- Let each coat dry completely before applying the next.
Step 6: Inspect, Touch Up & Reinstall Fixtures
After the final coat dries:
- Walk the perimeter and inspect for missed spots or uneven areas
- Touch up as needed with a brush
- Reattach shutters, lights, house numbers, and hardware
Common Mistakes to Avoid When Painting Vinyl Siding
Even with the right tools and prep, a few simple missteps can undo your hard work and shorten the life of your paint job. Here are the top vinyl siding painting mistakes we see homeowners make (and how to avoid them):
Skipping the Cleaning Step
Don’t paint over dirt and mildew.
- Painting over unclean siding guarantees poor adhesion and a patchy finish.
- Even invisible debris can ruin your results.
- Solution: Power wash or hand-scrub thoroughly, especially under eaves and near sprinklers.
Choosing the Wrong Paint
Using the wrong type of paint can cause blistering, cracking, or peeling as your siding expands and contracts.
- Use: Only 100% acrylic latex paint labeled as safe for vinyl siding.
- Avoid oil-based or non-flexible paints at all costs.
Ignoring the Weather Forecast
Painting in poor conditions, like high humidity, rain, or extreme temps leads to bubbling, streaking, or premature failure.
- Best conditions: Overcast, dry, and 50°F–85°F.
- Avoid windy days and direct sunlight.
Not Testing the Color First
Paint behaves differently based on lighting, siding texture, and sheen.
- Always test a 2×2 ft area in an inconspicuous spot.
- Look at it during different times of the day before committing.
Before & After: What to Expect
Painting your vinyl siding can deliver a dramatic transformation. Beyond just a color change, a professional paint job can refresh your entire home exterior, boost curb appeal, and extend the life of your siding.
Visual Transformation
Outdated or faded siding often makes a home look neglected. A new color can modernize the exterior and highlight architectural features like trim, windows, and shutters.
If you’re unsure how a new color will look, test small sections and compare during different times of day. Many homeowners are surprised at how much brighter or deeper a color appears once applied.
Boost in Home Value
A fresh paint job increases curb appeal and can make your home stand out in your neighborhood. For homeowners preparing to sell, it’s a cost-effective way to enhance perceived value without major renovations.
Improved Protection
New paint doesn’t just look good. It can also protect your siding from UV rays and minor surface wear. Some vinyl-safe paints are formulated to resist mildew and dirt buildup, which means easier maintenance going forward.
Ready to Paint Your Vinyl Siding Like a Pro?
Painting vinyl siding is one of the most cost-effective ways to refresh your home’s exterior but only if it’s done right. With the right prep, materials, and technique, you can achieve a stunning, long-lasting finish that adds value and curb appeal.
At Arch Exteriors, we’ve helped homeowners across Maryland and Northern Virginia transform their homes with expert-level craftsmanship and premium materials. We bring over 15 years of experience helping Maryland and Virginia homeowners transform their homes. From expert application to lifetime warranties, we deliver results that last.
Ready to transform your home? Contact Arch Exteriors today for a free consultation and see why homeowners across Maryland and Virginia consistently trust us for their roofing and exterior needs!
FAQ’s
How long does painted vinyl siding last?
Yes, you can paint vinyl siding a darker color, but you need to be careful. Darker colors absorb more heat, which can cause vinyl to warp if the paint isn’t designed for it. Always choose a vinyl-safe paint that specifically states it’s suitable for darker shades to ensure the material won’t be compromised.
Does painting vinyl siding affect warranty?
Painted vinyl siding typically lasts 8–10 years when done correctly. Longevity depends on the quality of the paint, proper surface preparation, and weather conditions. Using a high-quality, vinyl-safe exterior paint and applying two coats will help maximize its durability.
What kind of paint is best for vinyl siding?
The best paint for vinyl siding is 100% acrylic latex paint that’s specifically formulated for exterior vinyl surfaces. This type of paint offers flexibility, UV resistance, and strong adhesion. Avoid oil-based paints, which can crack as the vinyl expands and contracts.
Can I paint vinyl siding in cold weather?
It’s not recommended. Painting in temperatures below 50°F can prevent proper curing, leading to peeling or cracking. For best results, paint during mild, dry days with temperatures between 50°F and 85°F, and avoid painting right before rain or frost.


