Cleaning Vinyl Siding (Top Tips for Sparkling Results)
 8 minutes
 February 14, 2025
 Vinyl siding is a fantastic choice for homeowners—it’s affordable, durable, and low maintenance. But even the best siding can lose its luster over time due to dirt, grime, algae, and mildew. The good news? Cleaning vinyl siding doesn’t have to be a daunting task. With the right methods and tools, you can restore your siding’s beauty and protect your home’s curb appeal. This guide will walk you through:
- The benefits of cleaning vinyl siding regularly
- A step-by-step guide to cleaning vinyl siding effectively
- Bonus tips to prevent future buildup
🤔 Why Cleaning Vinyl Siding is Important
Keeping your vinyl siding clean is about more than just appearances—it’s about protecting your home. Regular cleaning prevents damage caused by dirt, mildew, and algae, which can wear down your siding over time and compromise its quality. Proper maintenance also extends the life of your siding, ensuring it stays durable and effective for years to come.
Additionally, a clean exterior boosts curb appeal, increasing your home’s value and making it look its best. By removing mildew and algae build-up, you not only improve your home’s appearance but also keep your siding healthier and more resilient against future issues.
Tools and Solutions You’ll Need
- Soft-bristled brush or broom
- Garden hose with a spray nozzle
- Bucket and sponge
- Mild cleaning solution (like vinegar and water, or a commercial siding cleaner)
- Pressure washer (optional, for tougher stains—use cautiously)
- Safety gear (gloves, goggles, and ladder stabilizer if needed)
✅ 6 Step Guide to Cleaning Vinyl Siding
Follow these steps to safely and effectively clean your vinyl siding and get results you’ll love:
1. Inspect Your Siding
Before getting started, take the time to carefully inspect your siding for any damage. This step is crucial to ensure you address any potential issues before beginning the cleaning process. Walk around your home and examine the siding closely for loose panels, cracks, chips, or areas that look worn or broken. Be thorough, as even small damages can allow water to seep behind the siding during cleaning, leading to long-term structural issues, such as mold or rot. If you notice any areas of concern, take the appropriate steps to repair them before moving forward. You might need to secure loose panels, seal up cracks, or replace broken sections to ensure the siding is ready for safe and effective cleaning. Proper preparation will protect your siding and prevent further damage throughout the process.
2. Prepare Your Cleaning Solution
Choosing the right cleaning solution is an essential part of the siding cleaning process. Start by determining the type of dirt or grime you’re dealing with and consider any environmental concerns. For an eco-friendly, general cleaning solution, mix 1/3 cup of laundry detergent, 2/3 cup of a household cleaner such as Simple Green, and 1 gallon of water in a large bucket. This solution is effective for tackling everyday dirt and buildup. If your primary concern is mildew, mold, or routine dirt, opt for a vinegar-based solution by mixing vinegar and water in a 1:3 ratio. This natural option is not only effective but also safe for plants and landscaping around your home. Once you’ve prepared the solution, stir or shake it thoroughly to ensure the ingredients are well combined. Having the correct solution ready and within reach will make your cleaning process smoother and more efficient, saving you time and effort as you work.
3. Rinse Your Siding
Before applying any cleaning solution, it’s important to rinse your siding to remove loose dirt, cobwebs, and debris. This step prevents grime from being spread around or smeared during scrubbing. Use a garden hose with a spray attachment for even coverage. Start rinsing at the top of the siding and work your way down, ensuring that water runs off effectively. By rinsing in this manner, you’ll avoid dirty water dripping down onto already-cleaned areas. Take your time during this step to ensure every section is properly rinsed, as it provides a clean surface for the cleaning solution to adhere to. If your siding is particularly dusty or covered in debris, you may need to rinse it twice to ensure it’s fully prepped for the next steps.
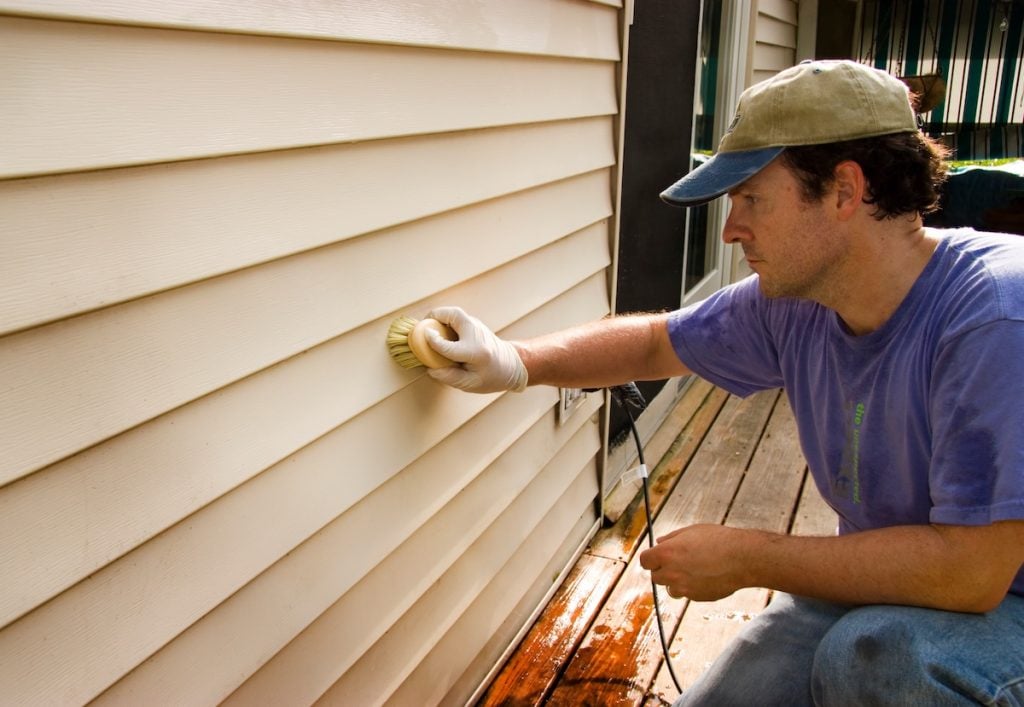
4. Scrub Gently
Once your siding is prepped and rinsed, it’s time to scrub away dirt and grime. Use a soft-bristled brush, sponge, or cloth to apply the cleaning solution to the siding. Starting at the bottom and working your way upward is key to avoiding streaks, as dirty water running downward can leave marks on areas you’ve already cleaned. Apply the solution in circular motions, covering one section at a time to ensure thorough cleaning. Be gentle as you scrub, especially if you’re working with vinyl siding, as excessive pressure can cause scratches or damage. Take extra care around edges, joins, and textured areas where dirt tends to accumulate. If you’re cleaning a large area, consider dividing it into smaller sections to ensure no spot is overlooked. This methodical approach will leave your siding looking cleaner and more polished.
5. Tackle Stubborn Stains
While general scrubbing will take care of most dirt and grime, there may be stubborn stains or mold spots that require extra attention. For these problem areas, apply your cleaning solution directly to the stain and allow it to sit for 5-10 minutes. This gives the solution time to break down the dirt and loosen it from the surface. Once the solution has had time to work, use a soft cloth, sponge, or brush to gently scrub the area. Avoid using abrasive materials that could scratch or damage the siding. For persistent stains, you may need to repeat this process several times to fully remove the blemish. If mold or mildew is particularly stubborn, consider using a specialized siding cleaner or an additional vinegar-water mix for extra effectiveness. Patience is key when addressing tough spots, as rushing can lead to incomplete cleaning or accidental damage.
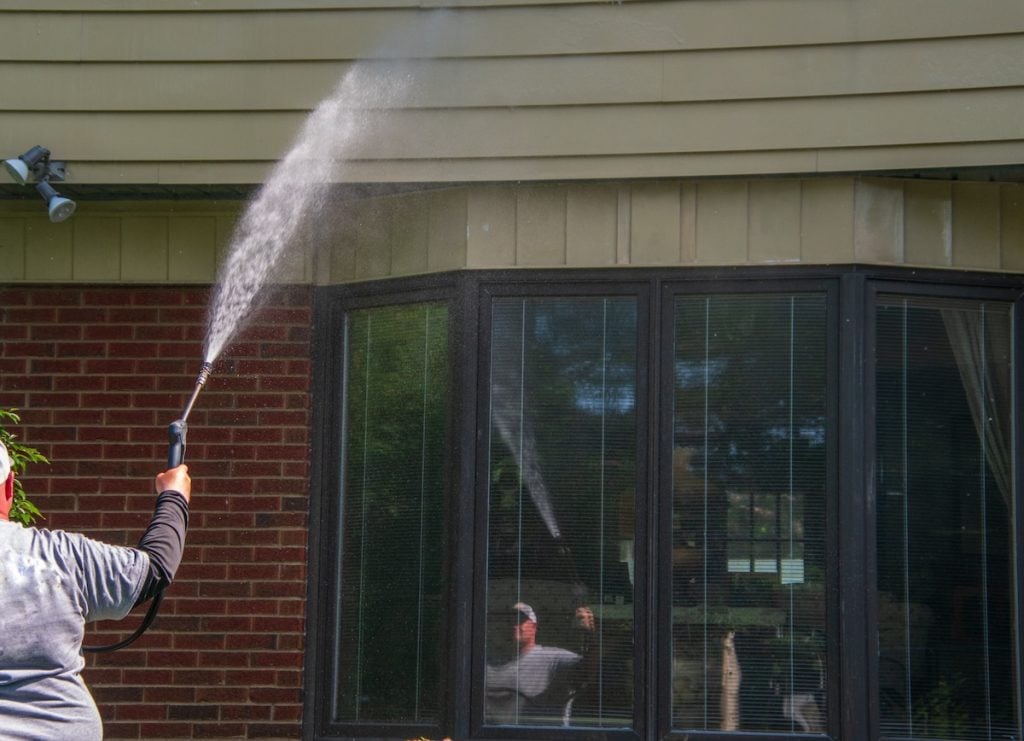
6. Rinse Thoroughly
After scrubbing, a thorough rinse is essential to remove all traces of the cleaning solution from your siding. Leftover soap or cleaner can leave unsightly streaks or, over time, cause discoloration or damage to the surface. Using a garden hose or a pressure washer on a gentle setting, start rinsing at the top of the siding and work your way down. This ensures that water flows downward, washing away all residue without re-soiling cleaned areas. Pay special attention to corners, edges, and any textured areas where soap might collect. Take your time to go over every section, as a proper rinse will leave your siding looking polished and refreshed. If needed, rinse some areas more than once to ensure no cleaner is left behind. Once you’ve finished, step back and admire your clean, revitalized siding, knowing you’ve protected and maintained your home’s exterior effectively!
💡 Tips for Preventing Future Build-up
Keep your siding looking pristine by following these simple prevention tips:
Trim Overhanging Trees and Shrubs
Overhanging branches can drop leaves, twigs, and other debris onto your property, leading to clogged gutters and mold growth. Regularly trimming trees and shrubs around your home not only keeps your space looking neat but also prevents unwanted buildup that can damage your exterior.
Clean Gutters Regularly
Clogged gutters can lead to water overflow, which creates the perfect environment for algae and mold to grow. Make it a habit to clean your gutters frequently, especially during the fall when leaves are more likely to accumulate. This simple task can save you from more significant maintenance headaches later.
Invest in a Yearly Wash
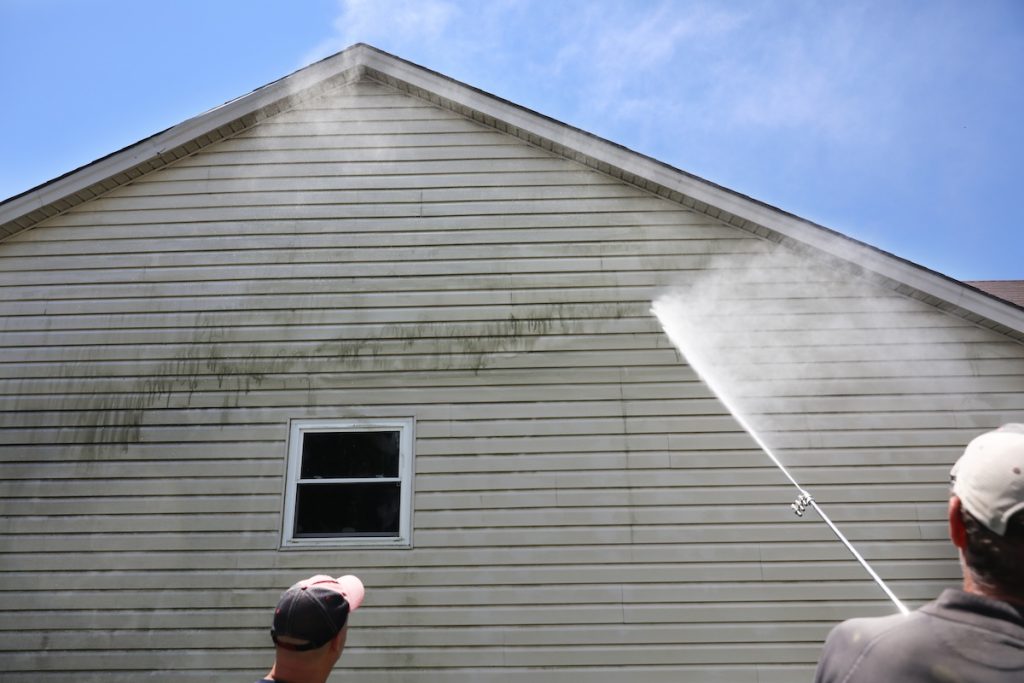
A professional yearly wash is a great way to maintain your property’s appearance and prevent long-term grime buildup. Power washing or soft washing can remove dirt, algae, and stains, keeping your home looking fresh and prolonging the life of your exterior surfaces.
Inspect After Storms
Heavy storms can leave behind dirt, debris, and even damage to your home’s exterior. After a storm, take the time to inspect your property for any issues that need immediate attention. Addressing these problems promptly can prevent further damage and keep your home in top shape.
🏠 Vinyl Siding Cleaning
Keeping your vinyl siding clean is key to maintaining your home’s beauty and longevity, but having the right team to support your siding needs makes all the difference. At Arch Exteriors, we bring years of expertise, top-quality materials, and a commitment to putting our customers first.
Whether you need guidance on siding maintenance or a full replacement, our knowledgeable team is here to help every step of the way. Ready to give your home the care it deserves? Contact Arch Exteriors today for a free consultation and let us help you protect and enhance your home’s exterior!


