How to Clean Window Screens (DIY Guide)
Wondering how to clean window screens without making a mess? We won’t lie to you, it’s a tedious job. Then again, so is deep cleaning in general!
Fortunately, there’s an easy way to get your window screens dust and grime free without too much fuss. All you have to do is set aside some time — about three hours or so — and follow our DIY guide.
Let’s get started.

What You’ll Need
To get started, you’ll need a few tools and supplies. You likely have many of these things at home already, so you probably won’t even have to run out to the store to get the job done — which means one less step!
The Tools and Supplies:
- A soft bristle brush
- A vacuum (hand-held or a regular vacuum with a brush attachment will work)
- A sponge
- A hose — preferably with a spray nozzle
- A large bucket or bowl
- Microfiber cloths or dry towels
- A spray bottle, bucket, or large bowl
- Dish soap, all-purpose cleaner, or distilled white vinegar to create a cleaning solution (while vinegar is optional, you’ll want to have it handy if your window screens are showing rust)
- Baking soda
There is also a product called Screen Magic that’s specifically made for cleaning window screens if you’d prefer to mix your own solution. However, good old soapy water works just fine.
7 Steps to Clean Window Screens
1) Remove All Your Window Screens
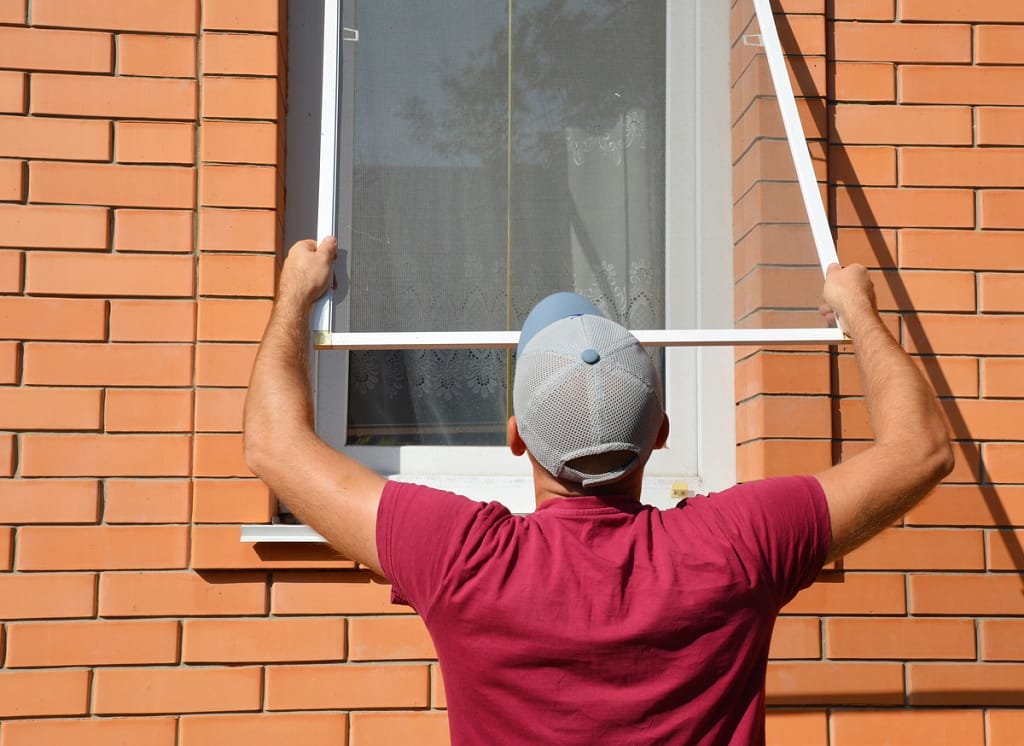
While some will tell you to use an extension ladder or a step ladder to reach your window screens, we think it’s a whole lot easier to completely remove them from the windows and place them outside where you’ll be cleaning. This way, you’ll be able to safely access every corner of each window screen without having to worry about heights or getting water inside your home.
If it’s easier, you can remove the screens in groups by room so you won’t get confused when it comes time to put them back. This is also a good time to inspect your windows in their entirety to see if it’s time for an upgrade.

2) Inspect the Build Up and Mix Your Cleaning Solution
Just for the record, your window screens should be cleaned monthly. If you’re like most homeowners, however, you get around to it at least once a year, which makes the process a bit more intensive due to the build-up of grime and debris.
If you’re lucky, there will just be some dust that you can vacuum and rinse. However, if you notice that there’s more than just dust, you’re going to need to get your cleaning solution and scrub brush ready.
There are several ways to mix your cleaning solution:
- Combine ¼ cup of the liquid dish soap with ½ gallon of water
- Combine equal parts distilled white vinegar and warm water
- Combine 1-⅔ cups baking soda, ½ cup dish soap, ½ cup water, and 2 tablespoons white vinegar
Once again, soapy water works just as well for regular build-up.
3) Vacuum the Dirty Screens
If you live in an area with a lot of dust, such as a desert location or around wildfire-prone areas, your window screens likely get dusty regardless of how regularly you clean them. Or, you may have been hit with a high pollen count recently — either way, the first thing you want to do is give your window screens a once-over with your vacuum to lift all the loose stuff up and out of the way while they’re dry.
Attach a soft bristle attachment to your vacuum and gently run it across both sides of each window screen.
4) Give the Dirty Screens a Rinse
If you clean your window screens regularly and don’t live in a dusty area, you can likely skip the vacuum step and go straight to the initial rinse. This will help to dislodge any debris that gets trapped within the screens and prep them for scrubbing.

5) Get to (Gently) Scrubbing
Now it’s time to clean the window screens with your preferred solution. Depending on how dirty the screens are, you can either use your sponge or scrub brush. You can also use both, although that would add an extra step to the process so we suggest using the scrub brush from the start.
If you’re using a sponge, gently scrub the screens in circular motions and then give them a good rinse. Pat them dry with a towel.
If you’re using the scrub brush, gently scrub with your solution in circular motions to dislodge the dirt and grime. Rinse and repeat as necessary, or rinse and repeat using the sponge. Don’t forget to pat the screens dry with a towel.
6) Start in on the Rust
Older window screens that have been exposed to extreme weather will likely develop rust over time, which you’ll want to get rid of along with the dirt and debris. This is where the vinegar comes into play:
- Lay the screens flat and pour the distilled white vinegar over the rusted areas. Let the vinegar set into these areas for up to two hours
- Using a brush and clean water, gently scrub the rusty areas to remove it. Pat them dry with a towel when finished
If this doesn’t work, then you have a case of stubborn rust. For stubborn rust, you can make a paste using about half a cup of baking soda mixed with two-three tablespoons of water until you get a consistency that’s like toothpaste. Apply the paste to the rusty areas and scrub until the rust is gone.
Rinse the screens clean and dry thoroughly with a towel. Repeat the process if necessary.
7) Replace the Screens
Once you’ve finished cleaning the window screens, it’s essential to ensure they’re bone dry. Otherwise, they’ll trap more dust and dirt and will be more vulnerable to rusting all over again. So, give them a once over with a dry towel and then allow them to air dry in the sun for a bit.
Once the screens are completely dry, you can go ahead and put them back in their rightful slots. Of course, you’ll want to ensure you’ve cleaned the window frames and tracks as well — which you can focus on while the screens are air drying!
You May Need New Windows

At some point, your window screens will be beyond saving. This may also mean that the entire window (or all of your windows) needs an upgrade.
That’s when you’ll want to call us. Arch Exteriors offers worry-free window installations, and getting new windows means better curb appeal, energy efficiency, and more!


