Deck Waterproofing: Materials + How To Guide
Imagine enjoying your outdoor wood deck in any weather, whether it’s a summer rain shower or a snowy winter day. Deck waterproofing can turn this dream into a reality, allowing you to maximize your outdoor living space year-round. In this comprehensive guide, we’ll walk you through the materials required and provide a step-by-step how-to guide for homeowners looking to waterproof their decks. Get ready to create a waterproof haven in your backyard!
Inside this blog:
- The importance of waterproofing your deck
- 9 materials + tools required for deck waterproofing
- The 6 key steps for how to waterproof your deck
Keep reading to learn how to keep your outdoor living space cozy and dry with deck waterproofing!
Why Waterproof Your Deck? ☔

Before we delve into the materials and steps for waterproofing your wood decking, let’s understand why it’s essential:
Extended Lifespan
Waterproofing protects wood decks from moisture, preventing rot, decay, and structural damage, which can significantly extend their lifespan.
Enhanced Aesthetics
Waterproof coatings can enhance the appearance of your deck by preserving its color and preventing staining from water and spills.
Usable Space
Waterproofing turns your deck into usable space year-round, allowing you to enjoy the outdoors in all seasons.
Increased Property Value
Well-maintained and waterproofed decking boards can increase the resale value of your home.
Now, let’s get started on the materials required for this project.
Materials + Tools You’ll Need 🛠️
Before you begin waterproofing your deck, gather the 9 following materials:
1. Waterproofing Membrane
Waterproofing membranes come in rolls or sheets and are typically made of rubber, vinyl, or PVC. Choose a membrane suitable for your deck’s surface.
2. Seam Tape
Seam tape is used to seal joints and seams in the waterproofing membrane, ensuring a watertight seal.
3. Primer
Use a primer specifically designed for the type of deck boards and waterproofing membrane you’re using.
4. Waterproofing Adhesive
This adhesive is used to secure the membrane to your deck’s surface.
5. Roller and Brush
You’ll need a roller and brush to apply the primer, adhesive, and waterproofing membrane.
6. Utility Knife
A utility knife is handy for cutting the membrane and seam tape to the desired size.
7. Caulk and Caulk Gun
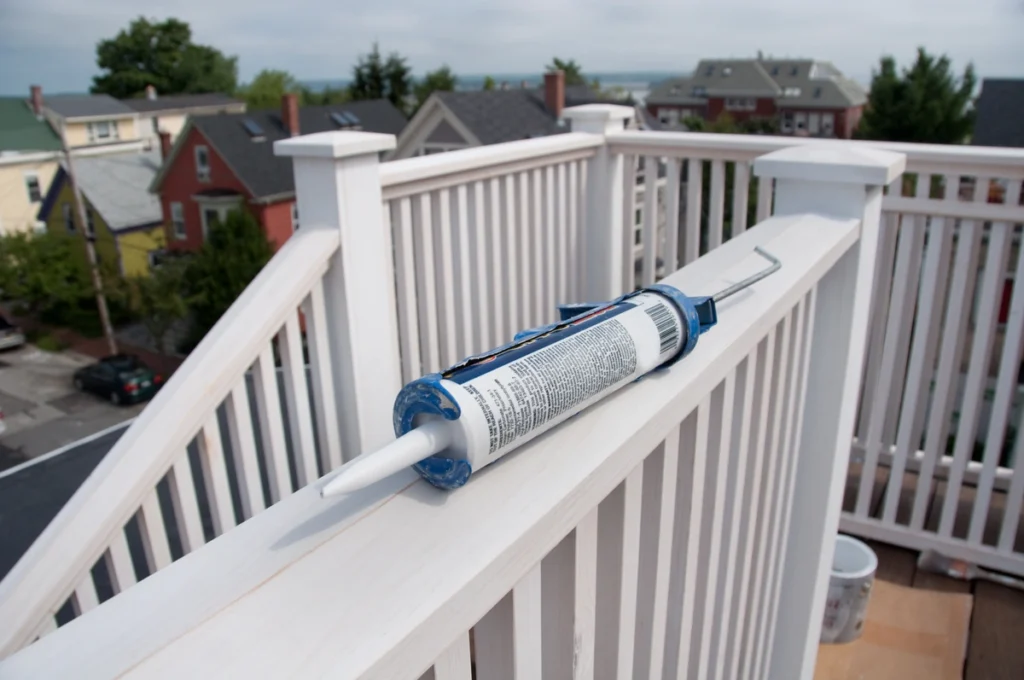
Caulk and a caulking gun are used for sealing edges and corners of the membrane.
8. Cleaning Supplies
You’ll need cleaning supplies such as a broom, pressure washer, and deck cleaner to prepare the surface of your outdoor living space.
9. Safety Gear
Safety gear including gloves, safety goggles, and a respirator mask is essential when working with adhesives and sealants.
Now that you know what materials and tools you’ll need for a successful deck waterproofing, let’s move on to the step-by-step guide on how to waterproof your deck.
How to Waterproof Your Deck: A Step-by-Step Guide
Below you’ll find the 6 key steps for how to waterproof your composite decking or wood decking like a true pro.
Step 1: Clean and Prepare
- Clear the Deck: Remove all furniture, plants, and objects from your deck to ensure a clear working area.
- Sweep and Clean: Sweep the deck to remove dirt and debris. Use a pressure washer and deck cleaner to thoroughly clean the surface. Allow it to dry completely.
Step 2: Apply Primer
- Prepare Primer: Follow the manufacturer’s instructions to prepare the primer. Typically, you’ll need to mix or dilute it as directed.
- Apply Primer: Using a roller or brush, apply the primer evenly to the entire deck surface. Pay special attention to corners and edges. Let it dry according to the manufacturer’s recommendations.
Step 3: Install Waterproofing Membrane
- Start at the Top: Begin at the highest point of your deck and work your way down. Roll out the waterproofing membrane across the deck surface, ensuring it overlaps seams by a few inches.
- Secure with Adhesive: Apply the waterproofing adhesive to the deck surface as directed by the manufacturer. Press the membrane into the adhesive, ensuring it adheres firmly without wrinkles or bubbles.
- Seam Tape: Use seam tape to seal any joints or seams in the membrane. Apply the tape and press it firmly to create a watertight seal.
Step 4: Trim Excess Membrane
- Trim Edges: Use a utility knife to trim any excess membrane that extends beyond the deck’s perimeter.
Step 5: Seal Edges and Corners
- Apply Caulk: Use caulk to seal edges, corners, and any gaps or penetrations in the membrane. Ensure a secure and watertight seal.
Step 6: Final Inspection
- Inspect the Surface: Thoroughly inspect the entire waterproofed deck to ensure there are no loose edges, gaps, or imperfections.
- Replace Furniture: Once you’re satisfied with the waterproofing job, you can replace your furniture and enjoy your newly waterproofed deck.
Tips for a Successful Deck Waterproofing Project 🌟
To ensure a successful deck waterproofing project, consider these tips:
Proper Surface Preparation
Adequate cleaning and surface preparation are crucial for a durable waterproofing job. Make sure your deck is clean and dry before applying any materials.
Follow Manufacturer’s Instructions
Always follow the manufacturer’s instructions for the materials you’re using. Each product may have specific requirements for application and drying times.
Proper Overlapping
Ensure the waterproofing membrane overlaps properly at seams and joints. Use seam tape for a secure seal.
Safety First
Use appropriate safety gear, especially when working with adhesives and sealants. Protect your eyes, hands, and lungs.
Regular Maintenance
After waterproofing, perform regular inspections and maintenance to ensure the longevity of your waterproofed deck.
Keep Your Space Dry With Deck Waterproofing 💧
Deck waterproofing is a valuable home improvement project that can enhance your outdoor living space and protect your investment. By following this DIY guide and using the right materials and techniques, you can transform your deck into a versatile and waterproof oasis. Say goodbye to worrying about the weather, and start enjoying your outdoor space year-round!
Contact Arch Exteriors today to get in touch with our expert team of contractors. With our top tier craftsmanship and dedicated customer service, we guarantee you’ll be thrilled with the final product. Let’s get started on your next home improvement project today!


