How To Install A Storm Door In 10 Steps?
 11 minutes
 October 16, 2024
 Have you been thinking about adding a storm door to your home? Whether you’re looking to enhance curb appeal, increase energy efficiency, or simply improve your home’s security, installing a storm door is a great project for any homeowner. This comprehensive guide will walk you through how to install a storm door, ensuring you have all the information and confidence you need to get the job done right, including:
- Tools and materials you’ll need
- Preparing your door frame
- Choosing the right storm door
- Installation steps
- Tips for a flawless finish
🚪 Why Install a Storm Door?
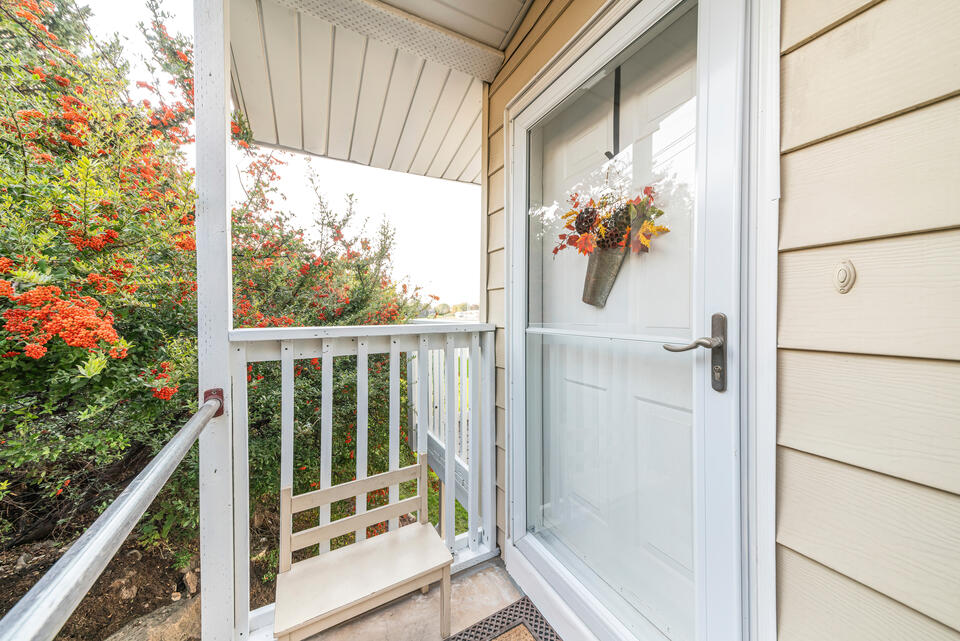
Storm doors offer numerous benefits, including improved insulation, enhanced security, and added protection against the elements. They also provide an extra layer of ventilation, allowing you to enjoy a breeze without inviting bugs into your home. In addition to these functional advantages, a well-installed storm door can significantly boost your home’s aesthetic appeal.
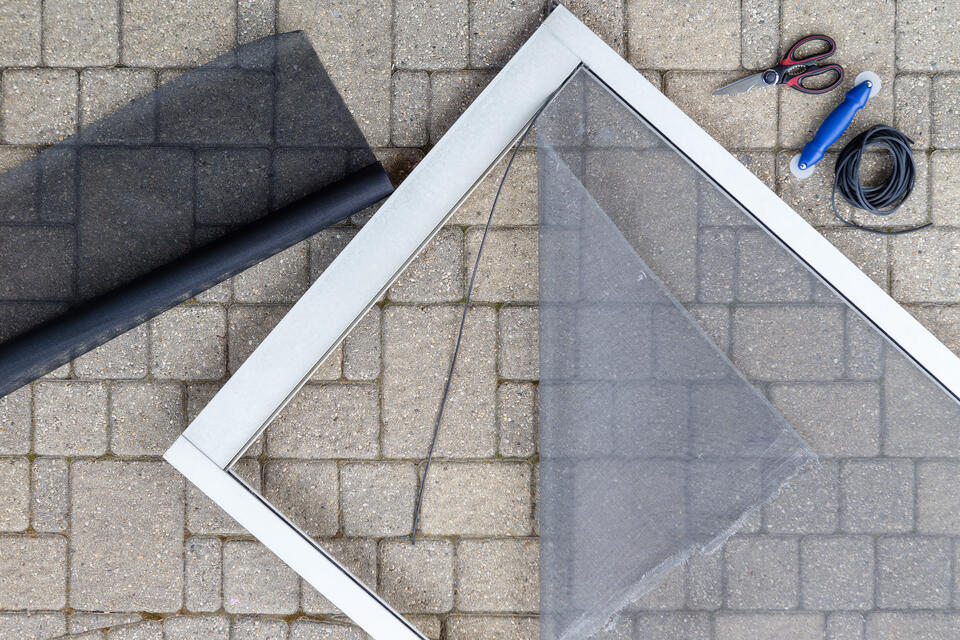
Tools and Materials You’ll Need
Before starting the installation, gather all necessary tools and materials. Having everything ready will save you time and make the process smoother. Here’s what you’ll need:
- Tape measure
- Level
- Drill
- Screwdriver
- Hacksaw (for trimming)
- Caulk and caulking gun
- Safety glasses
- Hammer
- Storm door kit
🛠️ Preparing Your Door Frame
Before installing your storm door, ensuring your door frame is clean, level, and in good condition is crucial. Follow these steps:
- Clean the Door Frame: Begin by removing any dirt, debris, or old paint from the door frame. A clean surface is essential for a proper seal and optimal installation, so consider using a wire brush or sandpaper for stubborn spots.
- Check for Levelness: Use a level to ensure the frame is straight and even, as an uneven frame can lead to installation issues and affect the door’s performance. If the frame is out of alignment, make the necessary adjustments, which may involve shimming the frame or adjusting the hinges.
- Repair Damages: Inspect the frame for any damaged areas or gaps. Use wood filler to repair these imperfections, allowing it to dry and sand it smooth before proceeding. This step is vital for ensuring a sturdy and secure installation.
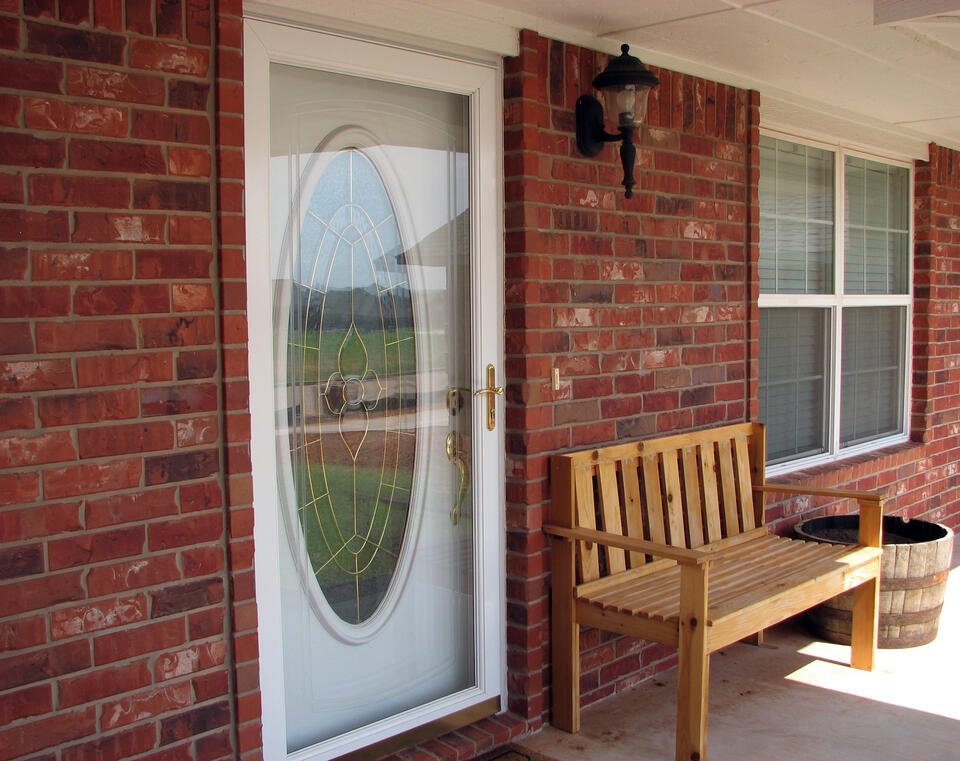
Choosing the Right Storm Door
Selecting the right storm door is a crucial step in ensuring a successful installation. Consider the following factors:
Material: Storm doors come in various materials such as aluminum, steel, and wood. Each material has its benefits and drawbacks, so choose one that suits your needs and budget.
Style and Design: Pick a storm door that complements your home’s exterior design. There are many styles available, from full-view to half-view and ventilating options.
Measurements: Accurate measurements are vital. Measure the height and width of your door frame, taking note of any irregularities.
💡 How To Install A Storm Door In 10 Steps
Installing a storm door is essential for enhancing your home’s energy efficiency and protecting it against harsh weather conditions. It also provides an extra layer of security and can improve curb appeal.
1. Unpack and Inspect
Begin by carefully opening the storm door kit and laying out all the components. Check each part against the provided parts list to ensure everything is included. Look for any signs of damage, such as dents or scratches, and contact the manufacturer if anything is missing or broken.
2. Install the Hinge-side Z-bar
Installing the Hinge-side Z-bar is crucial for ensuring a proper fit and alignment of your storm door. This step helps to create a secure seal, enhancing energy efficiency and preventing drafts, which ultimately contributes to the longevity and functionality of the door.
Positioning: Take the hinge-side Z-bar and position it vertically against the door frame on the hinge side. Use a level to ensure that it is perfectly plumb. This step is crucial for the proper alignment of the storm door.
Securing: Once aligned, use a drill to insert the screws provided in the kit. Start with the top screw and work your way down to ensure that the Z-bar remains straight as you secure it.
3. Hang the Door
Hanging the door properly is crucial for ensuring that the storm door functions effectively and provides maximum protection against the elements. A well-hung door prevents drafts, improves energy efficiency, and enhances the overall security of your home.
Placement: With the hinge-side Z-bar secured, lift the storm door and position it within the frame. Make sure the door is resting on the Z-bar.
Aligning the Hinges: Align the door hinges with the hinge-side Z-bar. Insert screws into the hinge plates to secure the door in place, starting with the top hinge. Check that the door swings freely and is level.
4. Attach the Latch-side Z-bar
Attaching the latch-side Z-bar is crucial for ensuring that the storm door fits securely and operates properly. This step helps to create a tight seal, improving energy efficiency and preventing drafts from entering your home.
Closing the Door: Gently close the storm door to ensure that it sits properly within the frame.
Fitting the Z-bar: Position the latch-side Z-bar against the door frame on the latch side. It should fit snugly against the door. Make sure to adjust if necessary for a tight fit.
Securing: Use the screws to attach the latch-side Z-bar to the frame, ensuring there are no gaps.
5. Install the Top Z-bar
Installing the Top Z-bar is crucial for ensuring a proper seal and alignment of your storm door. This step helps prevent drafts and water infiltration, enhancing energy efficiency and protecting your home from the elements.
Measuring: Measure the width between the two Z-bars to determine the length of the top Z-bar. It’s essential to get this measurement accurate for a proper fit.
Cutting: Use a saw to cut the top Z-bar to the measured length, ensuring the ends are smooth and free from splinters.
Securing: Position the top Z-bar at the top of the door frame and secure it with screws, ensuring it is tightly fastened.
6. Adjust the Door
Adjusting the door is crucial when installing a storm door to ensure a proper fit and prevent gaps that can lead to drafts and reduced energy efficiency. A well-aligned door also enhances security and functionality, allowing for smooth operation and longevity of the storm door.
Checking Alignment: With all Z-bars installed, open and close the storm door to check its alignment. It should operate smoothly without binding or sticking.
Making Adjustments: If the door isn’t aligned properly, make adjustments to the hinges or Z-bars as necessary, tightening or loosening screws as needed until the door operates smoothly.
7. Install the Door Closer
Installing a door closer is crucial for ensuring that your storm door closes securely and operates smoothly. This not only enhances energy efficiency by preventing drafts but also protects the door from damage caused by strong winds.
Positioning the Closer: Follow the manufacturer’s instructions to attach the door closer. Typically, it will be mounted at the top of the storm door and the door frame.
Adjusting Tension: After installation, adjust the tension of the door closer to ensure that the door closes smoothly and completely without slamming.
8. Attach the Handle Set
Attaching the handle set is crucial for ensuring that the storm door operates smoothly and securely. A properly installed handle set allows for easy access and enhances the overall functionality of the door, providing added protection against the elements.
Installation: Follow the instructions provided with the handle set to install it on the storm door. This usually involves marking the positions for screws and drilling holes.
Testing: Once installed, test the handle to ensure it operates smoothly and securely latches the door.
9. Seal the Edges
Sealing the edges of a storm door is crucial for ensuring energy efficiency and preventing drafts. Proper sealing helps protect your home from moisture and air leaks, enhancing the door’s overall performance and longevity.
Preparing the Area: Clean the edges of the storm door and the frame to remove any dust or debris.
Applying Caulk: Use a caulking gun to apply a line of caulk around the edges of the storm door where it meets the frame. This will help seal any gaps, preventing drafts and improving energy efficiency.
10. Final Inspections
Final inspections are crucial for ensuring that the storm door is properly installed and meets safety standards. This step helps identify any potential issues that could affect the door’s functionality and durability, providing peace of mind for homeowners.
Testing Functionality: Open and close the storm door several times to ensure it operates smoothly and latches properly. Check that it locks securely without any issues.
Making Final Adjustments: If necessary, make any final adjustments to the hinges or latches to achieve the best performance. Once satisfied, your storm door installation is complete!
🚫 Common Mistakes to Avoid
Avoid these common mistakes to ensure a smooth installation:
Incorrect Measurements: Always double-check your measurements before cutting or assembling anything. Even a small error can lead to significant fitting issues, causing delays and additional costs in your project.
Ignoring Levelness: It’s crucial to ensure the door frame and Z-bars are perfectly level. An unlevel installation can lead to improper door operation, resulting in difficulty opening or closing the door, which might require you to redo the work.
Over-tightening Screws: While it may seem logical to tighten screws as much as possible to secure components, over-tightening can actually damage the door and frame. Instead, tighten screws just enough to keep everything in place without applying excessive force, ensuring the integrity of the materials.
Maintenance Tips for Your Storm Door
Once installed, maintaining your storm door is crucial for longevity and performance:
- Regular Cleaning: Clean the door and frame regularly to remove dirt and debris.
- Lubricate Hinges: Apply lubricant to the hinges and moving parts to ensure smooth operation.
- Inspect Seals: Check the seals periodically and replace them if they show signs of wear.
- Check for Damage: Regularly inspect the door for any signs of damage, such as dents or scratches, and address them promptly.
- Paint Touch-Ups: If your storm door is painted, touch up any chips or worn areas to protect against rust and wear.
- Adjust the Alignment: Ensure the door is properly aligned and adjust it if necessary to prevent drafts and improve efficiency.
- Remove Snow and Ice: In winter, keep the door clear of snow and ice build-up to avoid damage and ensure smooth operation.
✅ Benefits of Professional Installation
While DIY installation is possible, opting for professional installation guarantees that the job is executed correctly and efficiently. Professionals come equipped with specialized tools and extensive expertise to tackle any challenges that may arise during the process, ensuring a seamless installation experience without the stress of potential mistakes.
Energy Efficiency Benefits
A well-installed storm door can significantly enhance your home’s energy efficiency by acting as an additional barrier against the elements. This extra layer of insulation not only helps maintain a cozy temperature inside during the winter months but also keeps your home cool in the summer. By improving insulation, you can effectively reduce energy consumption and lower your utility bills, contributing to both environmental sustainability and cost savings.
Enhancing Curb Appeal
Beyond their functional advantages, stylish storm doors can greatly enhance your home’s curb appeal. By selecting a door that harmonizes with your home’s architectural style, you can elevate the overall aesthetic of your entrance. A visually appealing storm door not only adds character but also creates a welcoming atmosphere, making a positive first impression on visitors and potential buyers alike.
🙌 Transform Your Home with ARCH Exteriors
Installing a storm door is a fantastic way to enhance your home’s security, energy efficiency, and curb appeal. By following this guide, you can confidently tackle the installation process and enjoy the benefits of a well-installed storm door.
At ARCH Exteriors, we take pride in providing top-quality home improvement services, including roofing, windows, siding, and doors. With over 15 years of experience serving Maryland and Virginia, our expert team is dedicated to delivering exceptional results with precision and care. Ready to take your home improvement projects to the next level? Contact ARCH Exteriors today for a consultation and see why we’re the trusted choice for homeowners in the area. Transform your home with ARCH Exteriors—where quality meets excellence.


