Can You Paint Vinyl Windows? (Do’s & Don’ts)
Vinyl windows are a popular choice among homeowners for their durability, energy efficiency, and low maintenance. However, after years of exposure to the elements, even the sturdiest vinyl frames can start looking a little faded or outdated. If you’re considering giving your windows a fresh new look, you might be asking, “Can you paint vinyl windows?”
The short answer is yes—you can paint vinyl windows. But before you grab a paintbrush, it’s important to understand the challenges and best practices involved in painting vinyl. Done improperly, you could harm the windows’ functionality or void your warranty. Here’s what we’ll cover in this guide:
- The do’s & don’ts of painting vinyl windows
- How to paint vinyl windows the right way
- Key considerations to keep in mind
👉 The Do’s & Don’ts of Painting Vinyl Windows
Painting vinyl windows can enhance your home’s look, but doing it incorrectly may damage the material or void warranties. Understanding the do’s and don’ts ensures a durable, professional finish without costly mistakes.
5 Do’s for Painting Vinyl Windows
- Check Your Warranty: Ensure painting your vinyl windows won’t void the manufacturer’s warranty, as many explicitly prohibit it.
- Use Vinyl-Safe Paint: Choose paint designed for vinyl to prevent warping and allow for temperature-related expansion and contraction.
- Prime the Surface: Apply a high-quality primer for better paint adhesion and a smooth, even finish.
- Clean Thoroughly: Wash away dirt, dust, and grease with a mild detergent, then rinse and dry completely.
- Apply Thin Coats: Use multiple thin coats for an even finish and to avoid drips or uneven coloring.
5 Don’ts for Painting Vinyl Windows
- Don’t Skip the Prep Work: Proper sanding, cleaning, and priming are essential to prevent uneven coverage and peeling.
- Avoid Dark Colors Without Caution: Dark paints can absorb heat and warp vinyl. Choose vinyl-safe paint made to resist warping.
- Don’t Paint in Extreme Temperatures: Paint when the temperature is between 50-90°F and avoid overly humid weather.
- Avoid Painting Moving Parts: Painting tracks or hinges can interfere with functionality; stick to the visible frame.
- Don’t Forget the Final Seal: Apply a clear weather-resistant sealant to protect your paint from cracking or peeling.
✅ 5 Steps to Paint Vinyl Windows

Painting vinyl windows can refresh your home’s look without the cost of replacing them. Following the right steps ensures a durable, professional finish that lasts.
1. Gather Your Tools
Before you start painting your vinyl window frames, make sure you have all the necessary tools to make the process smooth and efficient. The key items you’ll need include vinyl-safe paint, which is specially formulated to adhere to vinyl surfaces without cracking or peeling, and a high-adhesion primer that helps the paint properly stick to the frames. Painter’s tape is essential for protecting the surrounding glass and areas you don’t want to paint, while fine-grit sandpaper is needed to prep the surface by removing any shine. Depending on your preference, you can choose either a paintbrush for detailed work or a spray gun for a smoother, more even finish. Don’t forget a cleaning solution, such as a mild soap or a vinyl-safe cleaner, to ensure the frames are free of dust and grime. Having all your tools organized and within reach will save you time and help you complete the project efficiently.
2. Prep the Surface
Proper surface preparation is one of the most important steps in painting vinyl window frames. Start by lightly sanding the frames with fine-grit sandpaper. This step removes the shiny top coat on the vinyl and creates a slightly rough texture that the primer and paint can adhere to more effectively. Be sure to sand evenly across the entire surface, paying extra attention to any areas that feel particularly smooth or glossy. After sanding, clean the frames thoroughly using a mild soap solution or a vinyl-safe cleaner to remove dust, grease, and debris. Rinse the frames with clean water and wipe them dry with a lint-free cloth. It’s crucial to ensure the surface is completely dry before proceeding, as moisture can interfere with the primer and paint adhesion. Finally, apply painter’s tape around the edges of the frames to protect the glass and any other surfaces that you don’t want to paint. Taking your time during this step will set you up for a professional-looking result.
3. Prime the Frames
Priming is a critical step that ensures the paint adheres properly to the vinyl surface and lasts for years to come. Use a high-adhesion primer specifically designed for vinyl or slick surfaces. Start by shaking or stirring the primer thoroughly, as this helps ensure an even consistency. Apply a thin, even coat of primer using a paintbrush for detailed areas or a spray gun for a more uniform finish. Be sure to cover every part of the frame evenly, as any missed spots could lead to peeling or uneven paint coverage later on. Allow the primer to dry completely before moving to the next step—this can take anywhere from a few hours to overnight, depending on the product you’re using. Always check the manufacturer’s instructions for recommended drying times, as rushing this step can compromise the quality of your work. A well-primed surface creates the perfect foundation for a smooth and durable paint application.
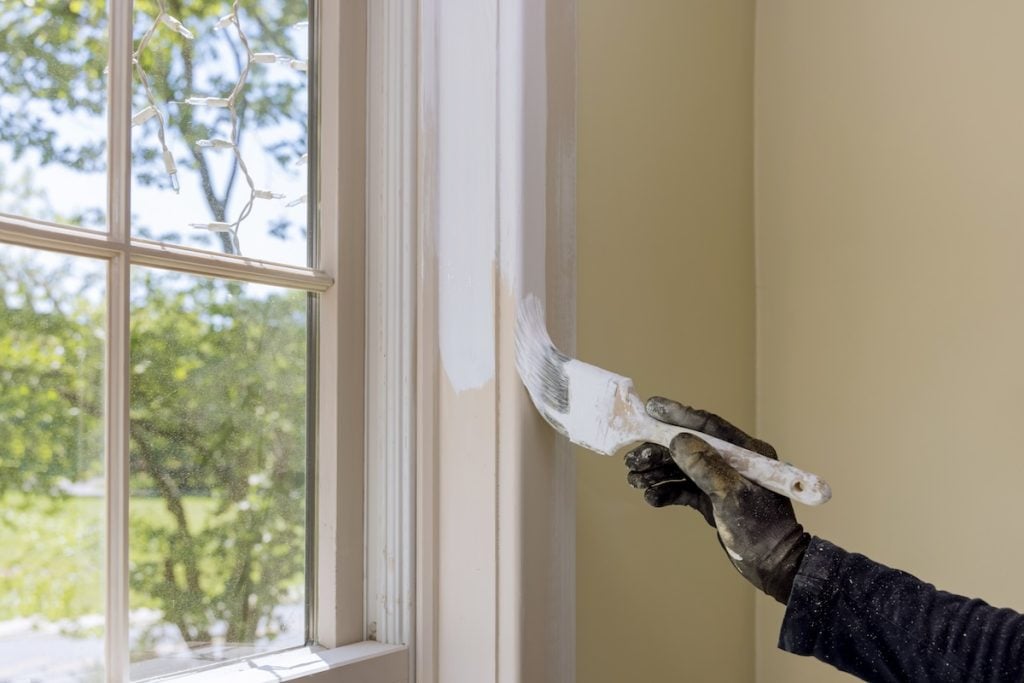
4. Paint in Thin Layers
Once the primer has dried, it’s time to paint the vinyl frames. Choose a vinyl-safe paint that is specially formulated to expand and contract with the material, preventing cracking over time. Begin by applying a thin, even layer of paint using either a brush for precision or a spray gun for a flawless finish. Thin layers are important because they help prevent drips and ensure a more uniform appearance. Allow the first coat to dry fully before applying additional layers—this waiting period is crucial for achieving a smooth, professional look. Depending on the paint and the color you’re using, you may need two to three thin coats to achieve full coverage. If you’re using a spray gun, make sure to hold it at a consistent distance from the surface for an even application. Take your time during this step, as careful, precise painting will result in a cleaner, more polished finish that lasts.
5. Seal the Deal
Once the paint is completely dry, it’s time to protect your hard work with a weatherproof sealant. This step is essential for ensuring the paint stands up to the elements, including sun exposure, rain, and temperature changes. Choose a sealant that is compatible with both vinyl and the paint you’ve used—this information can usually be found on the product label. Using a brush or spray gun, apply the sealant in a thin, even coat, making sure to cover the entire painted surface. Work carefully to avoid drips or pooling, as these can create an uneven finish. Allow the sealant to dry completely before removing the painter’s tape and using the windows. This final layer of protection not only enhances the durability of the paint but also helps keep the frames looking fresh and vibrant for years to come. With the sealant applied, your project is complete, and your vinyl window frames are ready to shine!
💡 Key Considerations to Keep in Mind
Key considerations are crucial as they help ensure informed decisions and prevent potential oversights. Taking the time to evaluate these factors can lead to better outcomes and a more efficient process.
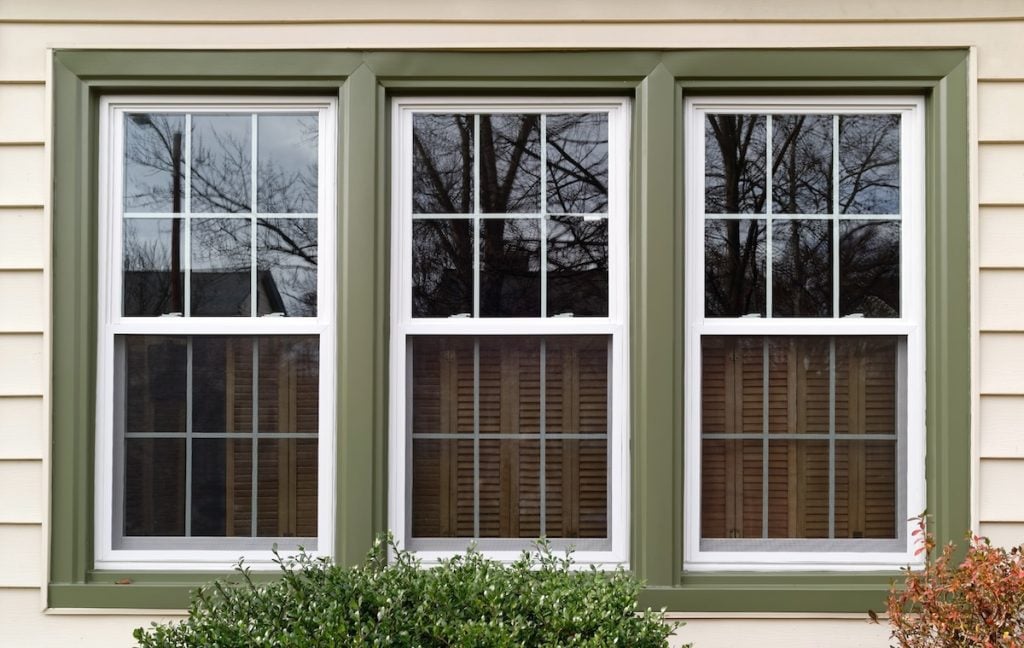
Color Choices
When choosing colors for your vinyl frames, it’s important to consider how they interact with heat. Darker colors tend to absorb more heat, which can lead to warping or damage over time, especially in areas exposed to direct sunlight. Lighter shades, on the other hand, reflect heat more effectively, making them a safer and more durable choice for vinyl materials. Stick to colors specifically recommended for vinyl to ensure a long-lasting, professional finish that maintains its appearance over time.
Professional Assistance
While a DIY approach to painting vinyl frames might seem like a cost-effective solution, it often comes with risks. Without the right tools, techniques, and knowledge, mistakes can lead to poor results and even damage to the material. Hiring experienced professionals, like our team at Arch Exteriors, ensures the job is done properly from start to finish. Professionals have the expertise to avoid common pitfalls, such as uneven paint application or selecting incompatible products, ultimately delivering a high-quality, polished result that will last for years.
Longevity
Painting vinyl frames can refresh their appearance, but it’s important to understand the commitment it brings. Unlike factory finishes, painted vinyl may require periodic maintenance or touch-ups to keep it looking its best. Factors like weather conditions, exposure to sunlight, and general wear and tear can affect the durability of the paint. By being aware of this and planning for occasional maintenance, you can ensure the frames remain vibrant and attractive for years to come, while also managing your expectations for upkeep.
🎨 Painting Vinyl Windows
When it comes to painting vinyl windows—or any other window care—trust the experts at Arch Exteriors to get the job done right. With years of experience, a commitment to quality, and a focus on providing personalized solutions, we’re the team you can count on to enhance the look and performance of your windows.Don’t leave your home’s value and comfort to chance. Contact Arch Exteriors today for professional advice, expert services, and solutions tailored to your needs. Schedule your consultation now, and let’s get started!


